Showing posts with label Tiffin. Show all posts

Thursday, 17 January 2013

Vegetable Noodles


Vegetable Noodles
If you know a child that does not like noodles, I would love to hear from them. Well, they certainly popular in my family, both the big boy and the small boy love it. To me, I think the best noodles are the ones we can get in road side shops in Chennai. I remember once I went to a sports meet while in college (oh, don’t get me wrong, I am not atheletic at all but I had good fun) and they had roadside shops sort of arrangement. It was quite inexpensive but very tasty. I am guessing it is the ajinomoto (mono sodium glutamate) that gives it so much flavour. However, I do not use it in my kitchen so I had to resort to other ingredients to bring flavour. Anyway, as I said earlier there will be fewer and fewer time left for me to write stories and will dive straight into the recipe. Where appropriate, I will however try to give information on nutrition and health benefits of key ingredients.

1 pack noodles of your choice, cooked as per instructions on package
2-3 cups of finely chopped vegetables (I added green beans, green pepper, red pepper and carrots)
1 onion, sliced thinly
1 generous teaspoon ginger garlic paste
3 tablespoon tomato ketchup or sauce (I used Maggi hot and sweet sauce)
1-2 tablespoon soya sauce
½ teaspoon vinegar
Salt to taste
Oil, preferably toasted sesame seed oil or stir fry oil

Heat oil in a heavy bottom pan. I used a mixture of sunflower oil and toasted sesame oil as the latter smokes very quickly. Add the onions and sauté for a minute

Add the rest of the vegetables and ginger garlic paste

Saute until they are just about cooked but still have a bite. Now, this may depend on your taste. Typically, Chinese cooking is done at high flame for a short time and this leaves the veggies crunchy. If you like them softer, then cook longer
Add all the sauce and vinegar and sauté for a couple of minutes

Add the cooked noodles; I added a few drops of water just so that it does not dry out quickly. Mix well and serve


Friday, 4 January 2013

Soya Sooji Dosa


Soya Sooji Dosa
A jar of soya flour is lying in my counter as I have been forgetting to add it to the chapatti dough I normally prepare. I thought I should make an effort to use them and wondered if they will be a good ingredient in a rava dosa like dish. That is how, this recipe was put together. This can make a quick breakfast or a light and quick dinner. I chose to add methi because I like its flavours. You will see I rant less and less these days before getting into the recipe purely because of lack of time and sometimes energy but I will hopefully keep the recipes coming. Here is the recipe...
¼ cup soya flour
½ cup sooji
¼ cup rice flour
Handful of methi leaves/coriander or any other greens
Salt to taste
2 green chillies, finely chopped
Asafoetida

Bring all ingredients together and add water to make a runny batter

Pour a ladleful on hot tava and add some oil

Once the lower side turns golden, flip side and briefly cook second side

Serve with spicy and tangy chutney


Saturday, 29 December 2012

Dudhi Dosa/Lauki Dosa


Lauki Dosa (Dudhi Dosa)
Bottlegourd aka dudhi is a vegetable that I include a lot in my diet these days. It is called lauki in hindi and sorakai in tamil. It is a bottle shaped vegetable which is supposed to be rich in fibre. It is also high in water content and hence is said to be good for weight loss. The cooked vegetable is cooling, sedative and is also said to give calming effect after eating. I have searched quite a bit for dudhi recipes but most of them return with kofta or halwa. Kofta is a bit time consuming and ofcourse, I like to avoid the deep frying and as for halwa, we are not so much dessert family so that would be wasted. It had been long since I made dosa and decided to make lauki dosa. It was a wholesome dosa and I made kadappa to eat with it, wow! Here you go...

½ medium lauki, peeled, cubed and ground to fine paste
¼ cup urd dal
½ cup brown rice
½ cup idli rice (par boiled rice)
1 teaspoon fenugreek seeds
Handful of beaten rice (poha)
Salt to taste
Cooking oil
1 teaspoon mustard seeds

Soak urd dal, both rice, poha and fenugreek seeds together over night. Grind to fine batter, not adding too much water and add required salt. Allow to ferment during the day. Just before making the dosa, add the ground dudhi to the batter and mix well
Add some oil and add the mustard seeds and after it crackles add it to the batter. The batter should be like regular dosa batter now. As grinding the dudhi would need some water and hence add water to the batter, I had said earlier that you not add much water while grinding the batter itself
(I am afraid I conveniently forgot the clicks! I promise I will upload them next time :) )

Heat a tava and spread a ladleful of the batter. Drizzle oil. Flip side once bottom is golden brown. Cook second side for a minute or so and it is ready to serve


Monday, 8 October 2012

Cornmeal Methi Dosa


Cornmeal Methi Dosa
I like to have cooked breakfast, especially when I have family here. While it has been hard to plan in advance for breakfast as we only managed to make something if we got time, otherwise it was oats porridge with a banana, I managed to make some instant dosa (crepes) on some days. This is one such recipe and to enhance the nutritional value, I added methi, you could skip it or add any other herb of your choice. To me, this is a very simple and quick dish that can help you keep going. Here is the recipe...
¼ cup rice flour
¼ cup rava (semolina/sooji)
¾ cup cornmeal
Couple of handful of chopped methi leaves
Few curry leaves
2 green chillies, finely chopped
Salt to taste
Cooking oil

Mix together the rice flour, rava and cornmeal and add enough water to make a thin batter and rest this for about 15 minutes. Add the curry leaves, green chillies, salt and chopped methi leaves and more water if needed
 
Heat a tava and pour ladeful of batter on it, best to start from the centre and work outward. You cannot spread this batter like regular dosa but it will be more like rava dosa batter, a bit less watery

Put some oil and flip sides once browned. It can come out quite crisp like rava dosa.

Serve with a nice hot and tangy chutney


Tuesday, 18 September 2012

Uppu Kozhukattai


Uppu Kozhukattai
Although not a regular in our house, it is a festival special. Honestly, I have not made it every year for Vinayaga Chathurthi and this really is my first time and this I say despite being married to an Iyer! I assisted my mother-in-law in making these during the very first vinayaga chathurthi after my marriage. I learned how to make the shape from her while she sat down after the pooja to make the big batch of both sweet and savoury kozhukattais. My personal opinion is that this is a very healthy snack and a great way of including lentils especially for kids. Next time I make it, I intend to make it using red rice flour instead of white rice flour just to enhance the nutritive value. Anyway here is the recipe...
1 cup rice flour
½ cup urd dal
1 green chilly
¾ teaspoon mustard seeds
Salt to taste
Asafoetida
Oil, preferably gingelly oil
Soak urd dal for about 1 hour and grind coarsely along with salt and green chilly. Make small patties or balls and steam these for 15 minutes


Heat little oil and add mustard seeds and asafoetida, once it crackles, add the steamed dal, break it with your hand, and mix well. You may add curry leaves to the tempering as well (forgot to click the mixture after tempering)

Roast rice flour in a heavy bottom kadai for couple of minutes and add salt and boiling hot water and make a soft dough. Add some oil/ghee to make it all come together


 Pinch lime sized ball and flatten them and depress them in the centre to make it like a cup. Use some oil to grease your hand 


Put about a teaspoon of stuffing in the centre and seal it.

Pinch the edges to form a pattern for the crimp and steam for about 15 minutes. Make sure you grease plate on which you steam so you do not break the kozhukattais when taking out. You know they are done when they look glossy. 


Serve!


Friday, 1 June 2012

Sprouted Mung Beans and Oats Dhokla


Sprouted Mung Beans and Oats Dhokla


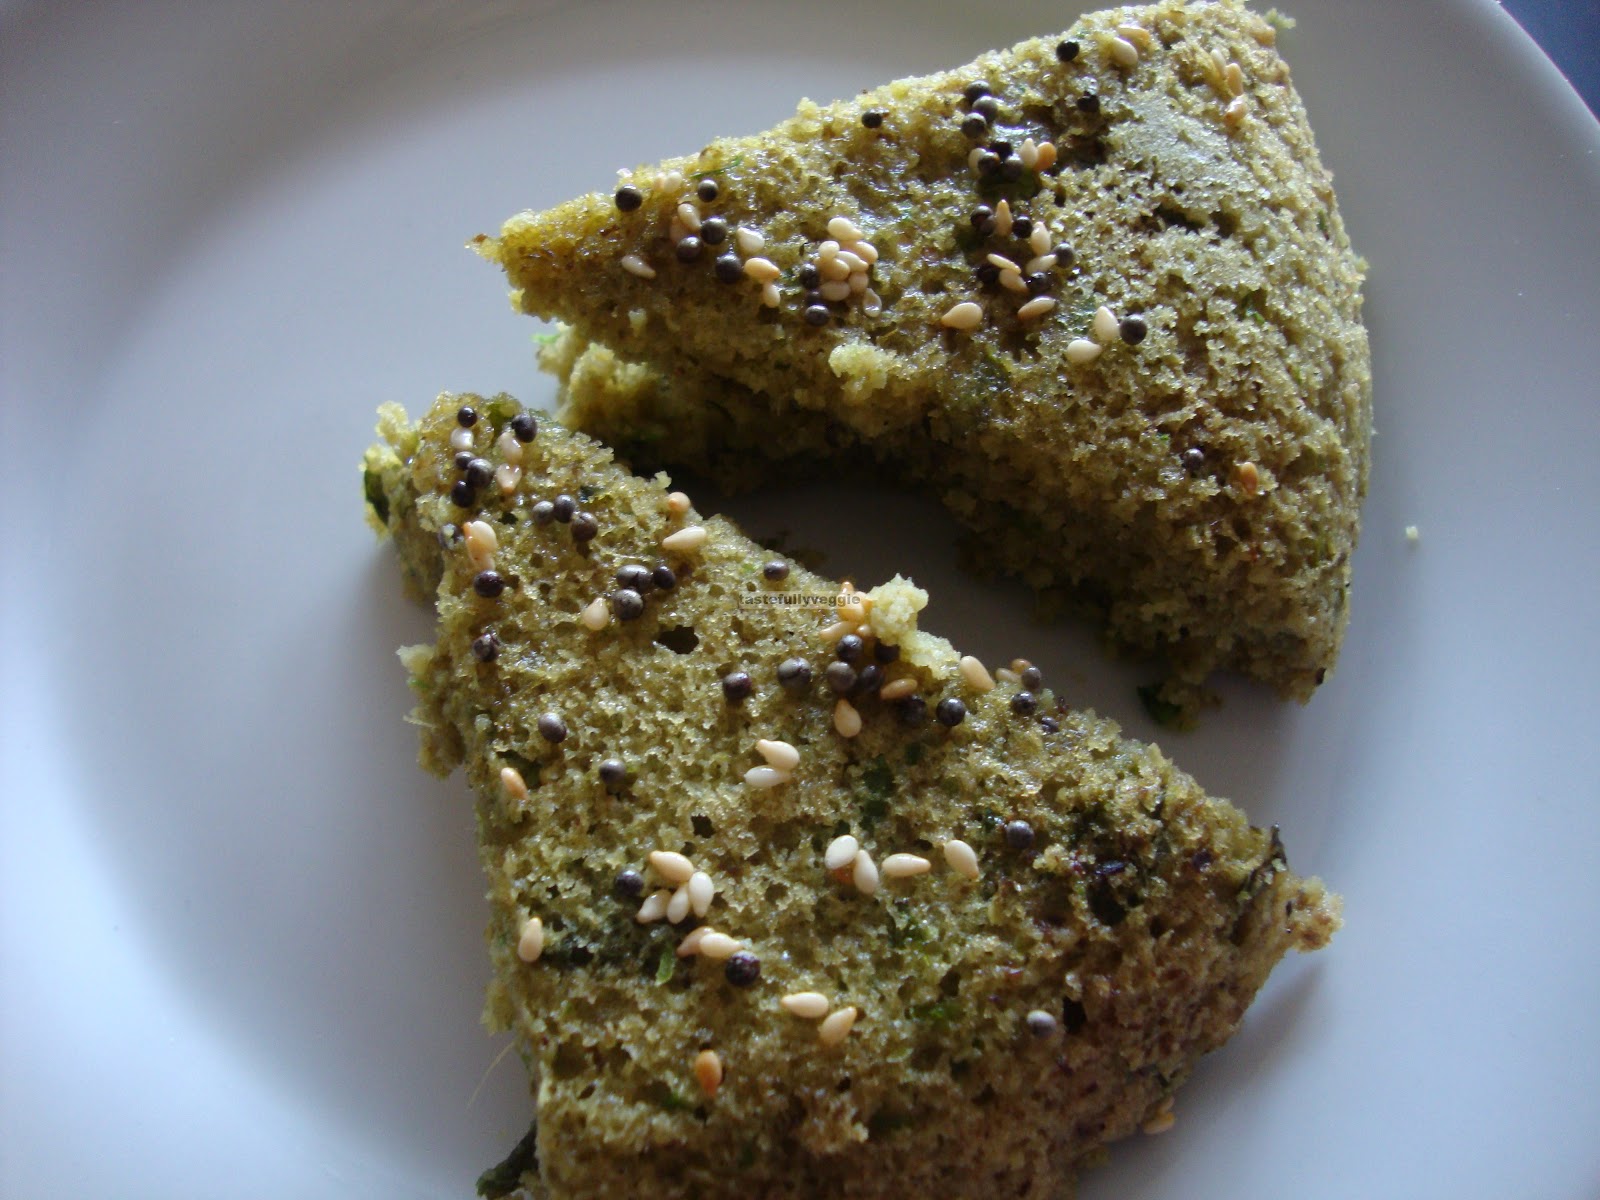
For a long time dhokla remained a dish that was a failure in my kitchen. I have tried a few different ways of making them without using fruit salt and using very little soda bicarbonate. However, I hit a brickwall especially with dhokla with besan as I encountered two problems. One was it had a strange smell coming through and second it discoloured and had some sort of brown colouring on it. Both were not appealing. I then took the chance with mung beans and the problems were to a milder degree. It was not until recently that I figured out what the smell was due to. Believe it or not, it was because of a branded soda bicarbonate I was using. I could not find it and had bought supermarket brand and made some cakes which had no smell other than the aroma of the ingredients. Then I found this tub of branded soda I was using and thought I will use it up but only to find that the end product had that same strange smell. So, this time my dhokla was more or less defect free and nutrition rich as I made it with sprouts. I made this for breakfast and wanted to add some carbohydrate so chose to add oats. The dhokla was very nice and it would have been even better if I had eaten with tomato chutney. Green chutney may not be ideal as there are already greens in the dhokla.

1 cup mung sprouts
2 green chillies
2 teaspoons chopped ginger
2 tablespoon coriander leaves
Handful of methi leaves
2 tablespoon yogurt
½ teaspoon soda bicarbonate
¼ cup oats
Salt to taste
½ teaspoon mustard seeds
1 teaspoon sesame seeds

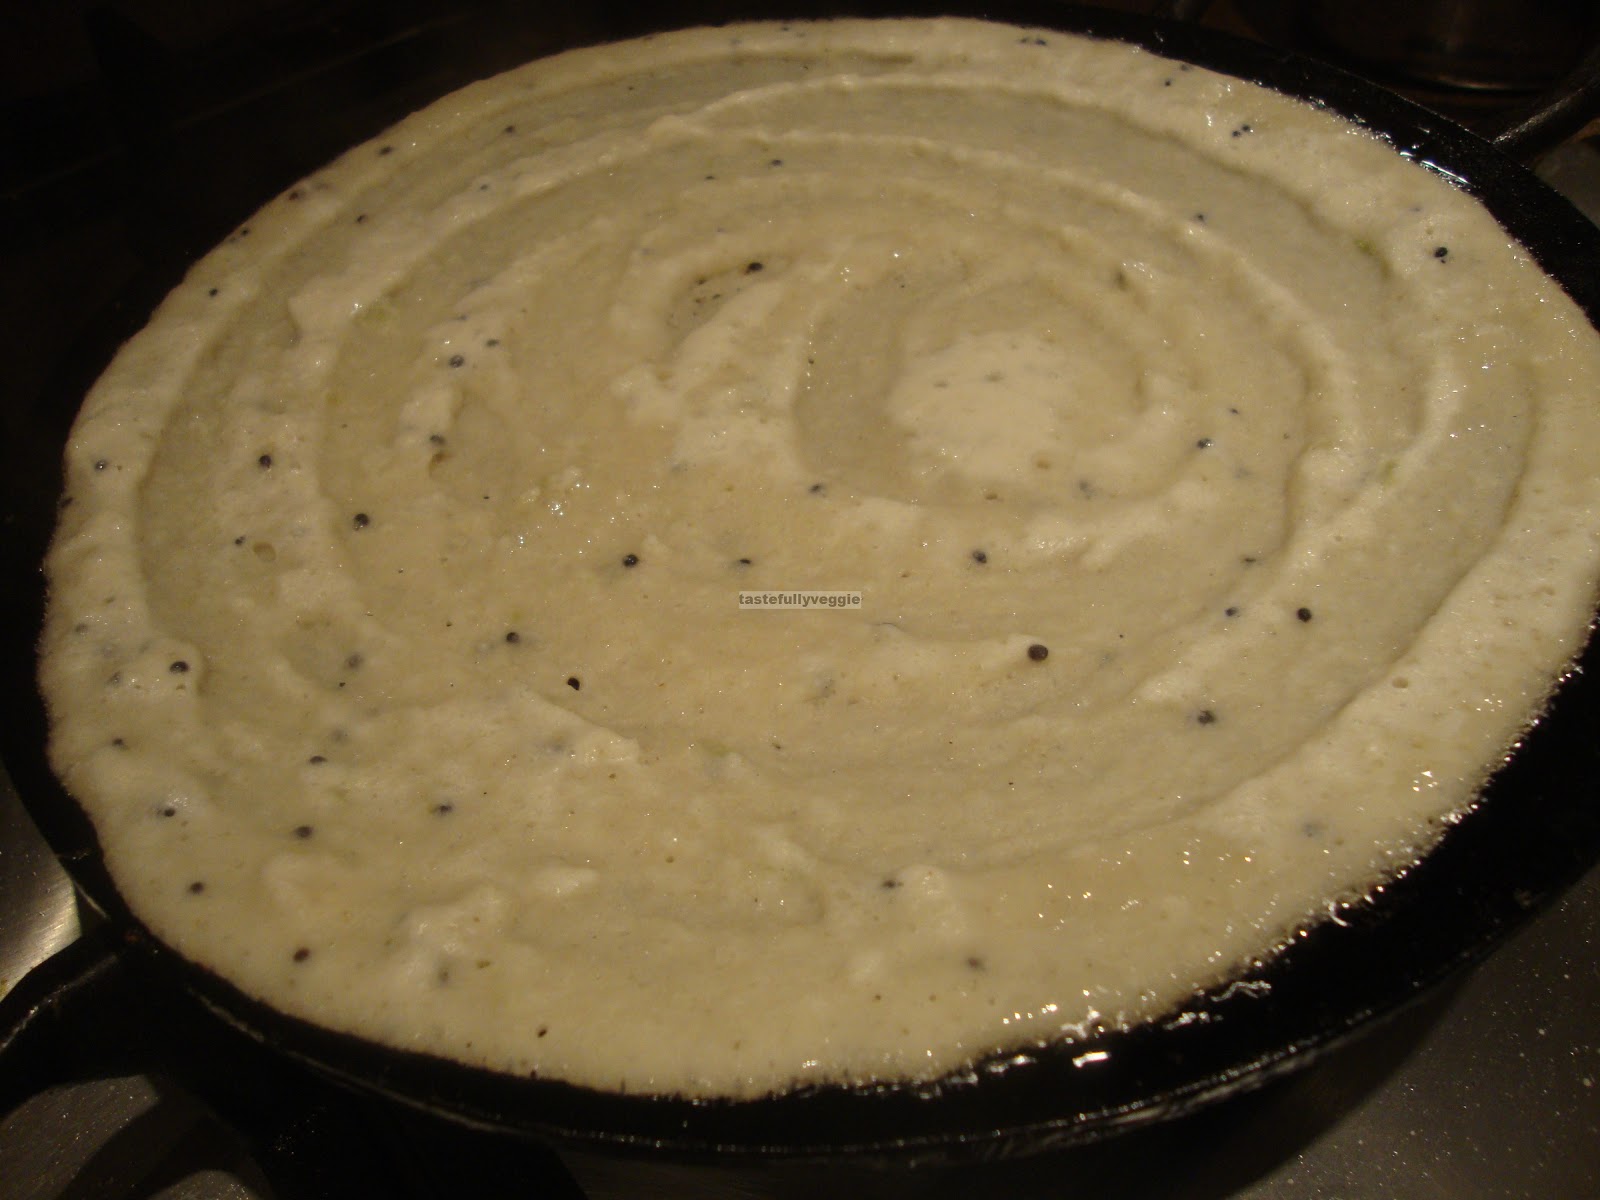
Grind together sprouts, chillies, ginger, yogurt and oats together. Add salt, coriander leaves and methi to the ground mixture

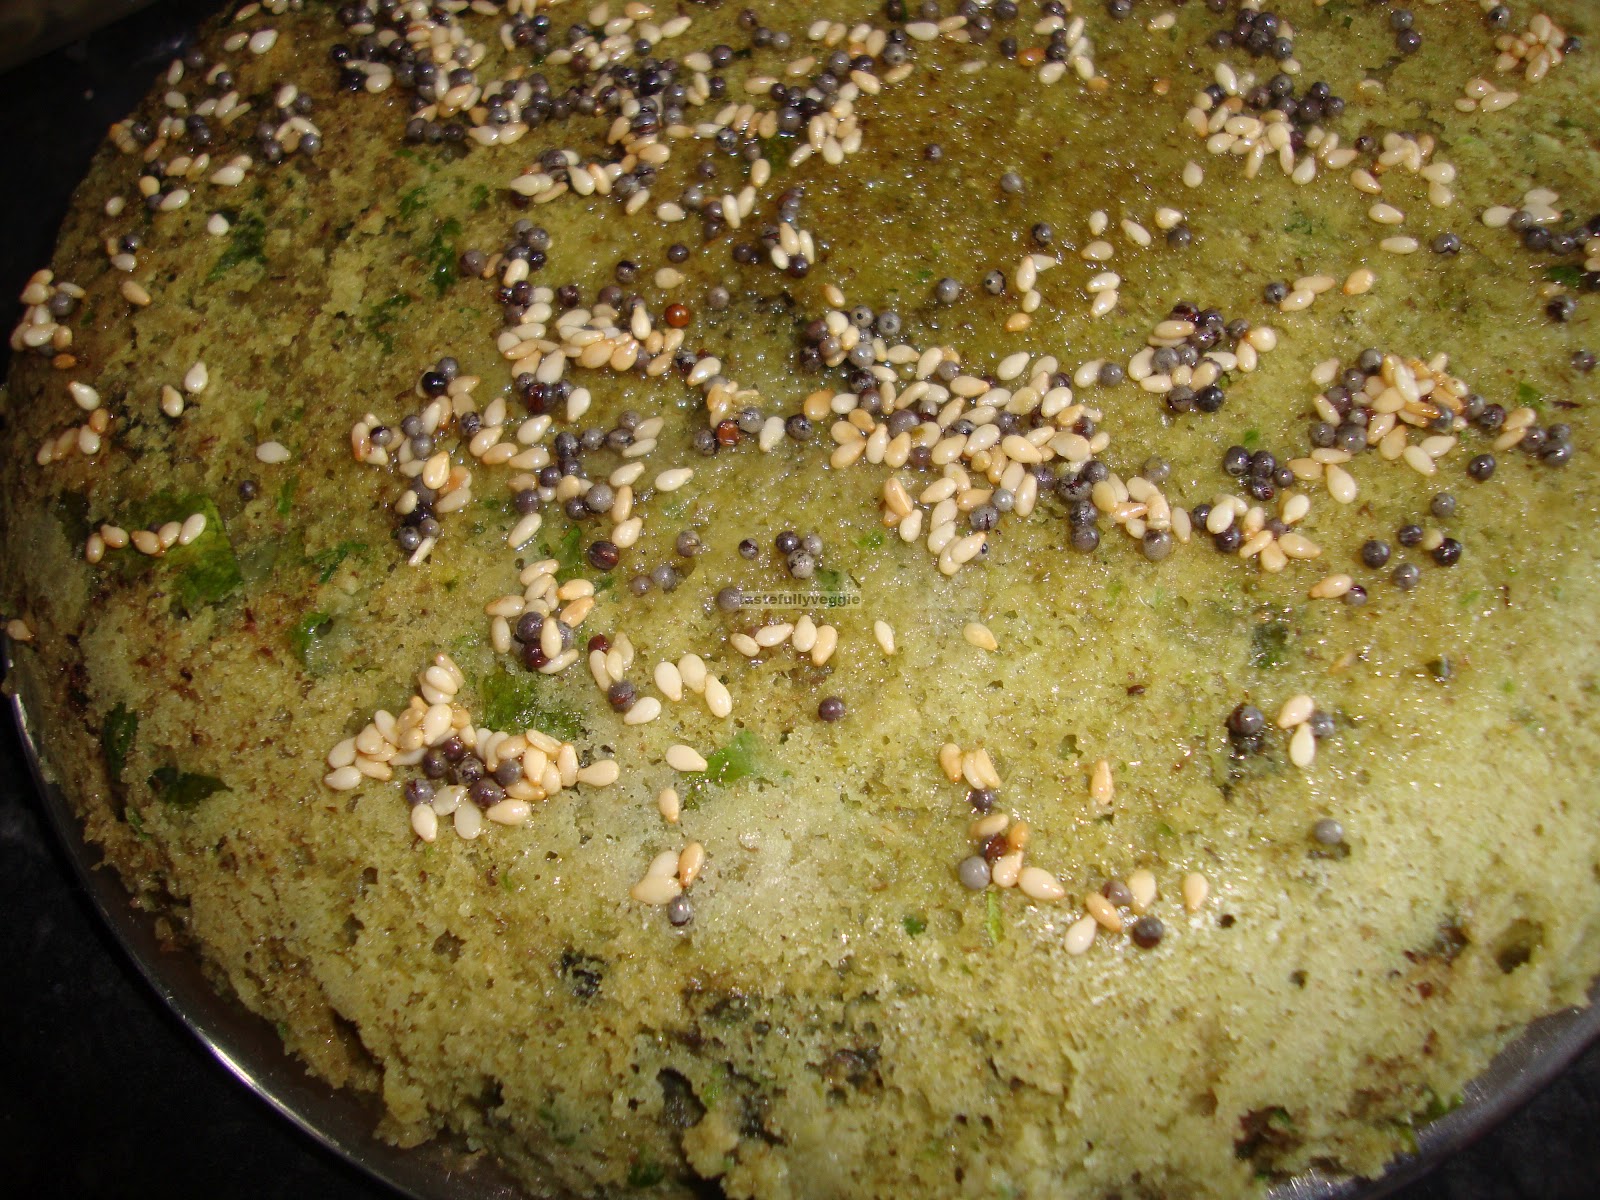
Add soda bicarbonate and mix lightly and pour into a greased plate. Cover and steam for 15-20 minutes. Cool briefly and transfer to a plate

Heat little oil and add the mustard seeds and sesame seeds and wait until mustard seeds crackle. Spread this on the dhokla and cut into slices and serve with chutney. You could add some coconut and curry leaves to the tempering as well

Monday, 14 May 2012

Arisi Upma


Arisi Upma


While growing up, rice upma was one of the dishes mom used to make often because all of us at home liked it. Infact I used to love the bits that were a bit overcooked and came out crisp at the bottom of the dish. Speaking of the dish, it is normally made in a traditional utensil called ‘vengala paanai’ which is a heavy metallic pot. The heaviness of the pot allows slow cooking without burning the food. My mom had bought one for me in my ancestral town of Kumbakonam as usually people there expect very high quality when it comes to utensils and end up being demanding customers. Anyway, she had sent it to me sometime back and I finally got to use it now as an uncle of mine asked me for arisi upma recipe. My husband does not like this dish at all so, honestly I have never made it before; my sister-in-law makes it often though. I got the recipe from my mom and almost followed it just until I wanted to add my twist. I substituted part of the raw rice with raw brown rice. As this recipe involves grinding the rice coarsely, one cannot find the brown rice without being told. So there you go, some wholegrain added to otherwise traditional recipe. A little technique that gets used while cooking this dish is covering it with a small cup half filled with water. This is said to prevent the upma from going dry and also, if you think you need more water, you could just add it from this cup as it would be warm. Some people like the upma grainy (grains standing out), some like it bit more mushy. The below recipe is for the latter so do reduce water quantity if you like it grainy. My mom used to make something called ‘pachai puli’ to go with this; I did not as it needed aubergine which does not arrive until middle of the week. So, finally, here is the recipe...

1 ½ cups rice (I used ½ cup brown rice and rest regular raw rice)
1 heaped tablespoon toor dal
1 teaspoon cumin seeds
½ teaspoon black peppercorns
2 dry red chillies
Few curry leaves
1 teaspoon mustard seeds
1 teaspoon urd dal
2 teaspoons channa dal
Asafoetida
Salt to taste
Cooking oil

Grind together rice, toor dal, cumin seeds and black pepper to a powder that is not fine but not too coarse


Heat some oil in a heavy bottomed dish or vengala paanai and add mustard seeds. Once it begins to crackle, add the dry red chillies, urd dal, channa dal, curry leaves and asafoetida. Allow the dals to start browning

Add about 3 glasses of water and required salt and bring to boil

Add the ground rice mixture and stir quickly so lumps do not form. Cover and cook on slow flame stirring occasionally. Cook for about 20-30 minutes, you can check if it is done by tasting the rice; if it still has a bite, give it more time. Depending on the desired consistency, you may want to add little more water in the middle of the process, make sure you add boiling water


Serve hot with a tangy chutney or kuzhambu

Sunday, 13 May 2012

Bread Upma


Bread Upma
My mother-in-law was here with us recently and whenever folks are around I try not to ask them to prepare food but if they wish to help, they could help with the clean up. However, I thought my husband may fancy some dish that his mother makes and asked him if there was anything I should ask her to make for dinner on one of the week days. His immediate choice was bread upma. I then recalled how much he actually liked bread upma as he used to make it every now and then before we had our wee one. I somehow did not really enjoy the dish as it seemed a bit too dense for me. Anyway, after enjoying what his mother made, he later asked me to make it one morning for breakfast. He does not usually bother me with request for any specific dish so I was glad he even asked me for something but the condition was that ‘it has to be as good as mom’s’. Ah well, I have heard many women face this challenge of meeting husband’s expectations that his wife cooks like his mom but fortunately, in my case I could set my own benchmark as he is not too picky in some ways. Anyway, what better than a challenge in the kitchen for a food blogger. I set out to make it similar to how she makes but could not let it miss my touch. Addition of ginger garlic paste made quite a difference to the dish and so did the roasted groundnuts. I added it mainly because it is a good source of protein and it will be nice to have something crunchy along with the otherwise soft consistency of the dish. I was unsure if he would like it so did not bother crushing it coarsely but next time, I would. So the verdict was ‘I have indeed shown that I am quite a serious food blogger with about 300 recipes on my blog’. So, this recipe is a keeper. Below mentioned quantities serves two.

5 slices bread (I used wholemeal bread)
1 onion, finely chopped
1 tomato, chopped
2-3 green chillies, chopped
Turmeric powder
Asafoetida
½ cup peas
3 tablespoon yogurt
Salt to taste
1 teaspoon ginger garlic paste (optional)
1 teaspoon sambar powder
Handful of roasted groundnuts (optional)
1 teaspoon mustard seeds
Cooking oil
Few curry leaves

Cut the bread slices into small bite size square pieces and add the yogurt and mix so it is all coated in yogurt. Set aside while you get on with rest of the steps

Heat some oil in a kadai and add mustard seeds. Once it crackles add onions and turmeric powder

Add tomatoes, curry leaves and peas and cook until tomato becomes mushy

Add the sambar powder, salt and cook for couple of minutes so raw smell goes off

Add the yogurt coated bread slices and mix together and cook for a couple of minutes

Garnish with roasted groundnuts and serve!