Showing posts with label dip. Show all posts

Tuesday, 11 March 2014

Onion Chutney (Onion Dip)


Onion Chutney (Onion Dip)
When I first came to UK, I was a stay at home wife for three weeks. During that time, I would have toasted bread dipped in hummus for snack and I still remember the comfort it gave me. I then stopped having hummus for some reason and resumed just recently. While trying to figure out how to make my own hummus, I realised it could have a lot of oil hiding in it. Ofcourse, you get the low fat ones but that is not for me. I was recently looking for a variety of chutney recipes as I was getting bored of the three chutneys I usually make. Vah chef had onion chutney on his site and it looked very inviting. This is pretty much his recipe but I have not even used half as many red chillies as he has. This would be a mild chutney but feel free to add more red chillies. This goes very well with idli, dosa upma etc. and also with bread. You can use this as a dip in places where you may use hummus. You can also use this as a spread in your sandwich (you could skip the tempering for this). As it pretty much is just sautéed onions, I think it will even count towards your one of five a day! Now for the recipe...

4 onions, I used white, chopped
1 small tomato
1 small lime size ball of tamarind
3-5 dry red chillies (this would yield a mild chutney, increase if you want a hot one)
2 heaped tablespoon roasted Bengal gram or you can use cashew nuts too
Salt to taste
Cooking oil
For tempering:
1 teaspoon mustard seeds
Few curry leaves
½ teaspoon urd dal

Heat a kadai and add some oil. Once hot, add the chillies


Once they become crisp, add the onions and couple of minutes later add the tomatoes

Cook until onions are done, not browned though. Then add the tamarind flakes and cook for couple of minutes

Add required salt and allow to cool. Once cooled, add the roasted Bengal gram (daria) and grind to paste. 
You shouldn’t have to add water, but use your discretion.


To temper, heat some oil in a pan and add the mustard seeds, soon after it splutters, add urd dal and curry leaves and wait till the dal browns. Add this to the chutney, serve!


Monday, 19 September 2011

Plum Chutney


Plum chutney


Growing up, my only exposure to plum was through the plum cake that was available in local bakery. It is not one of the fruits that I had while growing up. Although not entirely true it may explain partly why I am not very fond of them here. I buy my fruits at the supermarket mainly because they are affordable but there is always a catch. The fruits are not always the most juicy and best. Plums especially could be very boring as they inherently lack huge flavours. However, my husband quite likes plums so I do buy them every now and then. Almost every time I buy them we waste about 2-3 of them cos one or two days after purchase, their appeal fades. I have always wanted to use them in recipes instead of trashing them so thought of making chutney and rasam (soup). I had not bought any recently but someone known to me was trying to give away some grown in his parent’s garden. That was my chance to give the chutney a go and it came out quite well. Depending on how tart they are, you may want to add a dash of tamarind paste. I had this with dosa and later noticed that it tasted great with rice too. You could have it as a dip or even mix some yogurt to make a flavourful plum raita.

4-5 plums
1 teaspoon mustard seeds
2-3 heaped tablespoon roasted chickpea (pottu kadalai)
½ teaspoon sambar powder
3 dry red chillies
Few curry leaves
2-3 teaspoons dessicated/grated coconut (optional)
Turmeric powder
Asafoetida

Heat some oil and add mustard seeds. Once it splutters add the plums and dry red chillies and cook until plums turn mushy

Add sambar powder, salt, asafoetida, turmeric powder and cook for couple of minutes and turn the flame off

Add roasted chickpea, curry leaves and coconut if using and allow the mixture to cool

Grind to desired consistency and serve with dosa, idli or even with rice.

Friday, 12 November 2010

Eggplant Chutney


Eggplant chutney

Eggplant/aubergine/brinjal all the same and all names refer to one of my favourite vegetables. Adapting to Spanish aubergine instead of the baby eggplants and variety of other brinjals I was used to was a learning experience in my culinary adventure. Once I got a hang of ways to cook this variety, I am now more comfortable experimenting it. I saw eggplant chutney recipe by Sanjay Thumma and I have adapted to my preference. Key difference is that I have charred the aubergine rather than frying it. It not only imparts an awesome flavour but also reduces amount of oil. The traditional eggplant chutney (thogayal) recipe in my family is different from this and will post that later. This dish tastes great with rice but can also be used as a dip or spread. Here is my version...

1 big eggplant
1 teaspoon mustard seeds
1-2 inch piece of ginger
3 green chillies
2-3 tablespoons dhariya (roasted chickpea aka ‘odaicha kadalai’)
½ teaspoon tamarind paste
¼ teaspoon fenugreek powder (optional)
Asafoetida
Turmeric powder
1 sprig curry leaves
1 teaspoon mustard seeds and curry leaves for tempering

Wash the aubergine and char on direct flame until it is well done. Remove the skin and chop roughly

Heat a teaspoon oil, crackle mustard seeds and asafoetida, turmeric powder, add ginger, curry leaves, chillies, dhariya, fenugreek powder and fry for 3-5 minutes

Add tamarind and some water and cook for about 5 minutes then add the chopped aubergine and salt and fry for couple of minutes

Allow it to cool and grind to desired consistency, add required water while grinding. Add a teaspoon oil in a skillet and add mustard seed. Once it crackles add curry leaves and add the ground paste. Add little water and allow to boil briefly.


Serve with piping hot rice and some oil or enjoy as a dip or spread

Friday, 8 October 2010

Paruppu Thogayal (Lentil Paste)

Paruppu Thogayal (Lentil Paste)


Amma (mom) makes the best thogayal (a dish which is a thick paste) and my favourite combination was always paruppu thogayal (paruppu is lentil) with a rasam and vegetables. I would first have rice mixed with the thogayal with a generous dollop of ghee (clarified butter) and after a few mouthful, would add rasam and vegetables. It used to be such a comfort food for me after a really long day at work and almost no lunch. I fancied the thogayal last week and just wanted it the mom’s way. Obvious next step was to call home and get the recipe. I did exactly as she said and it was spot on. While I enjoyed it with rice, I thought it may be a nice idea to use it as a spread in a western diet. This could possibly used wherever hummus is used. As the lentil has high protein with low fat, it would make a great addition to the diet. Here is how my mom and now I make it

½ cup toor dal (pigeon peas)
1 generous piece of asafoetida if not use a generous portion of powdered asafoetida
2 dry red chillies (adjust as per taste)
1 teaspoon cooking oil
Salt as required

In a skillet, heat the oil and add the solid piece of asafoetida. Once it starts to change colour add the toor dal and roast until golden brown

Add the chillies and roast along with dal until chilly turns crisp

Cool and grind with required salt and add water based on the consistency you prefer. For a spread, you could make it bit lose paste and for rice, make it more thicker.

The solid asafoetida adds a lot of flavour although you could use a generous portion of powdered asafoetida. Enjoy the lovely yet simple recipe!

Friday, 1 October 2010

Kadhi (Midly Spiced Yoghurt Sauce)

Kadhi (Midly Spiced Yoghurt Sauce)

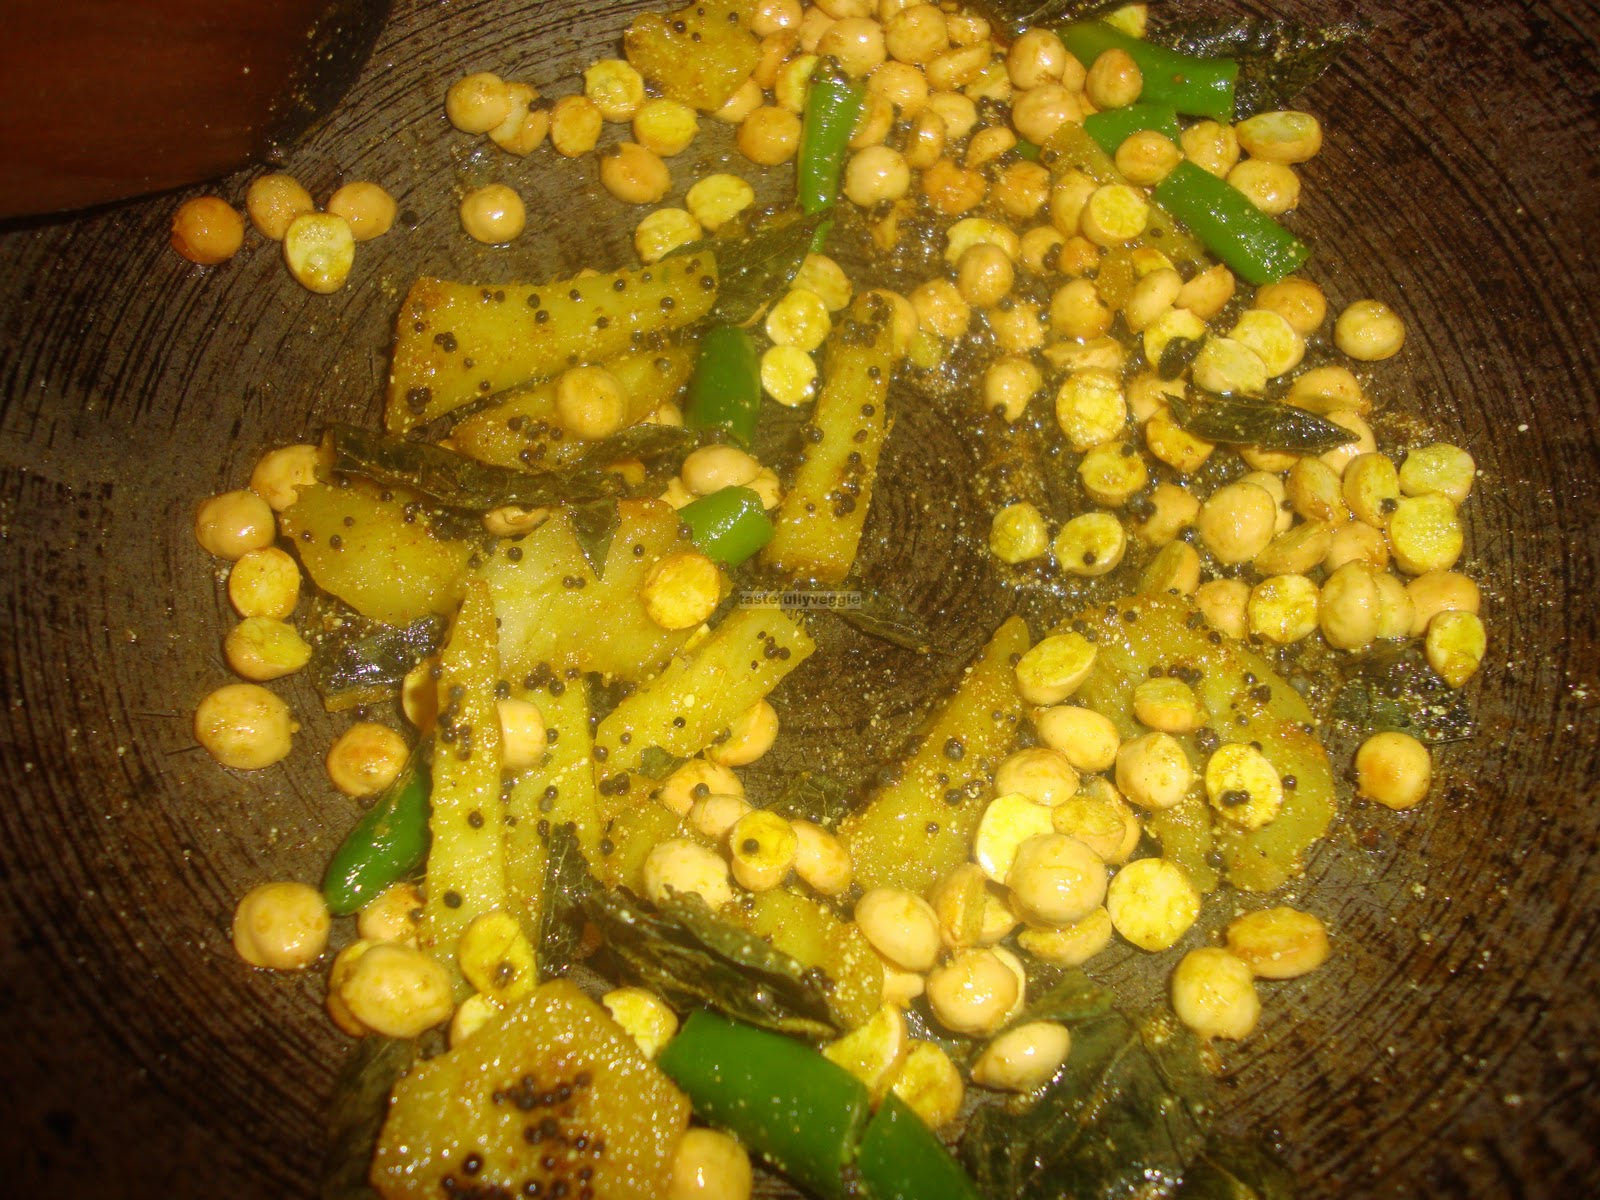
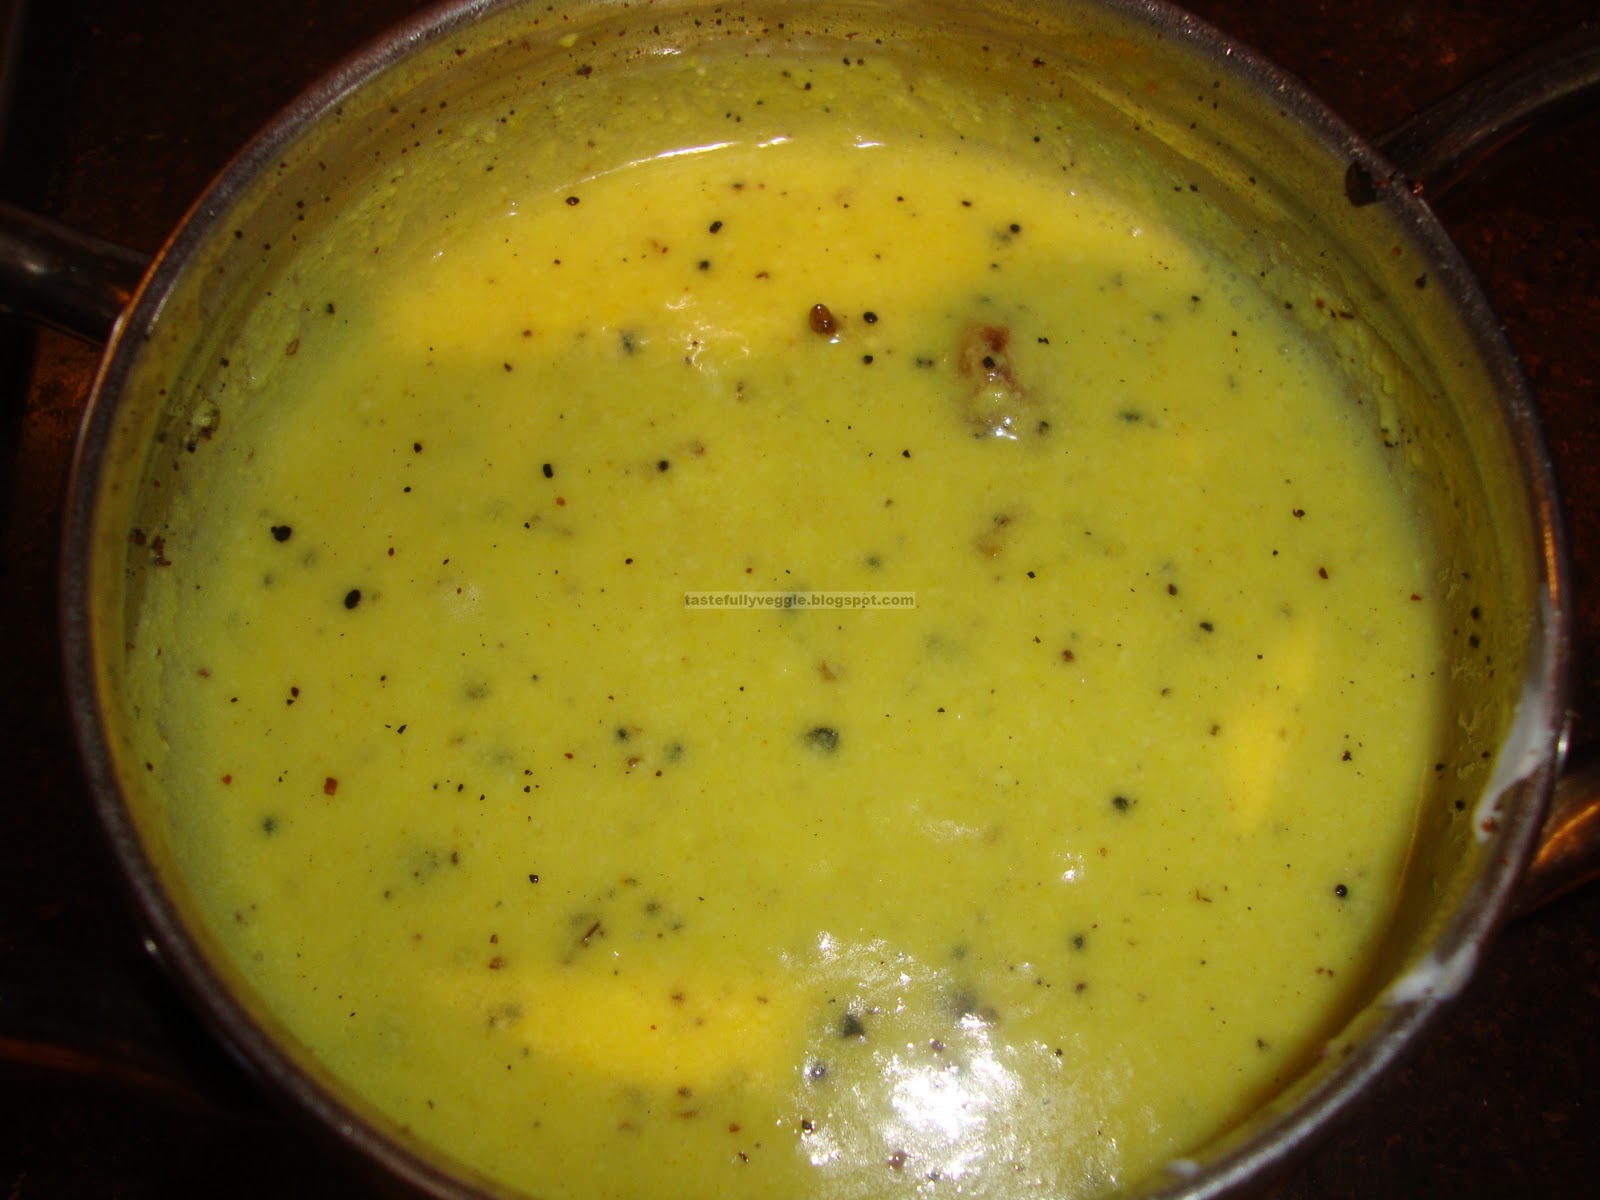
Few years back when I had just started running my own kitchen I used to be a little crazy, I must admit. I was very picky about few things especially around food safety and hygiene. In hindsight, I think I did overdo few things around food safety and threw away bit more than I should have. But, I have come a long way and even wrote about food wastage. Anyway, there was this once when I had refrigerated the paste I had ground for ‘mor kuzhambu’ but left it for a week and just assumed it would have spoilt and binned it. My mother-in-law was around and suggested that we make ‘vedika vita mor kuzhambu’ which is almost a basic kadhi. It is a very simple and quick recipe and one that my husband quite likes it. One of the interesting ingredients used in this dish is a chilly. Back home a recipe called ‘mor milagai’ is made. This is nothing but certain varieties of chillies being soaked in yougurt mixed with fenugreek powder and salt. This is then dried and preserved. It can be shallow fried and eaten. This seems to be available in Indian grocery shops too. If you do not have any, just use dry red chillies. Here is more on how we make it...

2 ‘mor milagai’ or dry red chillies
¾ teaspoon fenugreek seeds
2-3 tablespoons besan (chickpea flour)
1-2 cups yoghurt, whisked and not very runny
Asafoetida
Turmeric powder
Salt to taste
1 teaspoon mustard seeds
Cooking oil
1 teaspoon coriander leaves and some curry leaves for garnish (optional)
In a hot skillet, add the fenugreek seeds and roast until they begin to change colour. Cool and powder it.

Mix the besan and yoghurt well. Add water based on consistency you would like and also based on how runny the yoghurt is. I usually add little water and dilute it later after I finish the dish based on eventual consistency.


In the skillet, heat a teaspoon of oil, add the mustard seeds, once they crackle, add the chillies and when they start changing colour add fenugreek powder and asafoetida.

Add this to the yoghurt besan mixture, sprinkle some turmeric powder and allow to boil briefly on low flame.

Add salt after you take it off the flame and garnish.

Kadhi, ready to serve!

Remember fenugreek is slightly bitter so do not add like a spoonful, add upto about ½ teaspoon. I usually keep powdered roasted fenugreek ready. The kadhi goes well with rice. You could even try it as a sauce for pasta or make it thick to use as a dip.

Tuesday, 21 September 2010

Tomato - Sesame Seed Chutney

Tomato - Sesame Seed Chutney

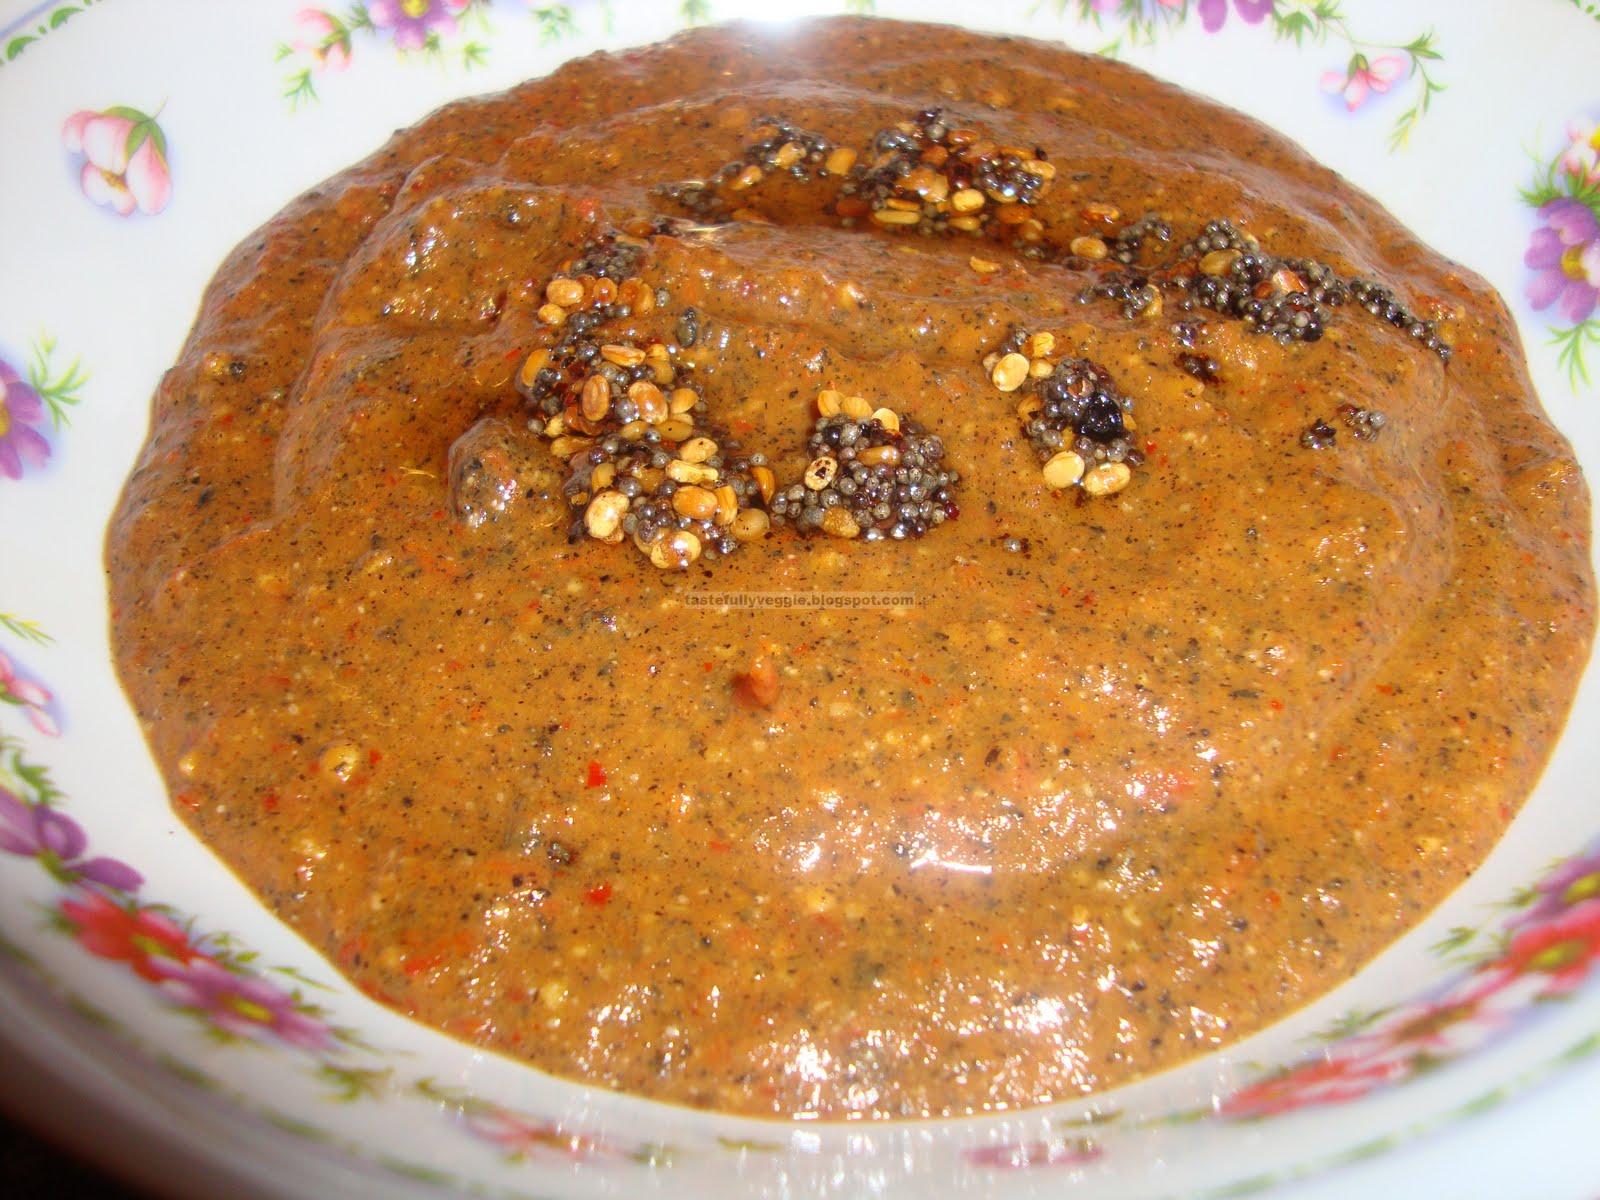
For a long time my association with Sesame had to do with the phrase from Arabian Nights – Open Sesame (which by the way reflects the fact that sesame bursts open upon maturity). Having said that, I now understand that the ‘milagai’ powder that mom made for idlis and dosas had a lot of sesame seeds in it. It is a shame that it took me a long time to realise that the 'nallennai' aka gingelly oil is actually sesame seed oil. But for that, I have barely included sesame in my diet. Honestly, I was not really able to appreciate its distinct flavour and taste. I had used it in a dish and results were quite good. As always, I do have a big packet of black sesame seeds that has been lying in my shelf for a long time now. I was keen to use them soon because the oils in the seed could go rancid if stored for long. I was trying a variety of dosas, which is quite a normal thing in my kitchen, and wanted a new chutney for it. I was also thinking of trying some Andhra recipe and that is how I ended up with tomato sesame seeds chutney. I must say that it was a superhit. My husband, who is usually very wary of my experiments, actually said he liked it and would like it made more often. I quite liked it as well and am drooling now even thinking of it. The best part is it goes well with idlis, dosas, rice, rotis and even bread. I know some people love ‘milagai’ powder (gun powder) but the amount of oil mixed with it is not good for cholesterol. This chutney has the potential to replace the ‘milagai’ powder and is a must try. Here is how I made it…


2 tablespoons sesame seeds
3 big tomatoes, chopped
5 dry red chillies (adjust according to taste)
½ teaspoon tamarind paste
1 teaspoon channa dal (kadalai paruppu)
1 teaspoon sambar powder (optional)
Asafoetida and turmeric powder
1 teaspoon mustard seeds
½ teaspoon urd dal
Salt to taste
Cooking oil

In a skillet, roast the sesame seeds till they start popping. Keep aside and roast the chillies until they turn crisp, keep aside. Roast the channa dal till it turns golden brown.


In a saucepan, cook the tomatoes until it becomes pulpy. Add the tamarind paste, asafoetida, turmeric powder and sambar powder and cook for further couple of minutes.

Grind the sesame seeds, channa dal and chillies first and then add the tomato pulp and grind. Season with required salt.


In the skillet, add less than a teaspoon oil and add mustard seeds and urd dal. Once the mustard seeds splutters and dal turns brown, add to ground chutney and serve.

Saturday, 1 May 2010

Carrot Chutney/Carrot Dip


Carrot chutney
Carrot is not just a beautiful looking vegetable with its orange colour but is also a versatile vegetable. It can be used to make savoury and sweet dishes and even cakes!! Carrot is a must have in my kitchen. Surprisingly, until I got married I was not a big fan of carrot. As I almost always had rasam rice with vegetables I found carrot’s sweetness actually destroyed the flavour from the spices. But my take on carrot now is so different. I make carrot poriyal (karamudhu in Iyengar language), carrot halwa and many other tiffin with it. As I keep saying the more colourful your meal is the more healthy it is. Most of the goodness of carrot is attributed to its beta-carotene content. This makes it very good to help prevent several cancers including lung cancer. Most kids would have heard their mom say carrots are good for eyesight and this is due to its vitamin A content. It is also said to help prevent stroke and reduce blood sugar.
I always keep looking out for different chutney varieties as they just make life a bit easier when I am busy. I particularly like chutneys which is also healthy and this is one such nutrition packed chutney. Some of you may find it wiered to think of carrot chutney but trust me, it is good.
2 carrots grated
Handful of roasted peanuts
1 tomato
1 sprig curry leaves
2 tablespoons coconut powder
1 green chilly
1 dry red chilly
1 tablespoon grated ginger
Asafoetida
¼ teaspoon turmeric powder
Salt as required
½ teaspoon mustard seeds for tempering
Take about 1 teaspoon cooking oil and add turmeric powder, asafoetida and chopped tomatoes once hot. Allow the tomatoes to cook well and add the carrots and cook. Add green chilly and ginger and once the carrot is cooked add curry leaves and cook for a minute. Once it cools down grind it along with roasted peanuts and coconut. Season with salt. Add one teaspoon oil in a pan, put the mustard seeds and add it to the ground chutney after it splutters. If you wish, you could skip the coconut from the recipe.
I find it easier and quicker to roast the peanuts in microwave by heating for a minute and then stirring and cooking another 2 minutes. Repeat this until you hear the nuts cracking (it is more their skin cracking) and stop at this point. Remember it will be crispy only after it cools. The duration of roasting will depend on the quantity you take. It is a good idea to keep some roasted nuts ready as it makes a good snack as well.

Thursday, 22 April 2010

Spinach Raita


Raita is a yoghurt based condiment and usually contains vegetables. It is my belief that the intent of having raita is to help cope with the heat and spices in the main meal. There are some vegetables like onion and cucumber that are commonly used for raita. I wanted to do something different but did not have lot of vegetables left in my fridge. I had however left a tiny portion of spinach which I couldn’t have used for anything else. Spinach, as everyone knows is one of five a day vegetable. The green leaves are rich in iron,folates and calcium as well. This raita may make it easier to enable children to have spinach as it is otherwise not quite popular among kids. Here is the key to this simple raita...
1 cup spinach washed
3-4 cloves garlic
1-2 green chillies chopped
Yoghurt
Salt if required
Less than a teaspoon cooking oil
In a saucepan, add oil and garlic and chillies. Fry for a couple of minutes and add spinach. Once the spinach wilts, take off the stove and allow to cool. Grind to make a paste and add desired amount of yoghurt. Season with salt if desired. I try to reduce salt intake as much as possible and prefer to bank on the flavour from yoghurt.
You could serve this raita with a main dish that may not have green vegetables just so that the meal is balanced. If you do not like garlic, you may want to use ginger instead.

Sunday, 11 April 2010

Groundnut/Peanut Chutney


I amaze myself at times when I want to try some recipes that I actually disliked in the past. One such item is groundnut/peanut chutney. I used to have it (read it as have it on my plate) in my office canteen in India. Usually they would serve it with pongal or a really thick dosa. The quality of food used to be so poor that I used to return my plate full most of the days. The chutney they used to make was watery and way to ‘groundnutty’ for me. I decided to come up with a recipe that would be more for me. Again I had to be quick as I was tired and wanted to get some rest. Needless to say, I relied on my microwave.
Peanuts are packed with nutrients like folate, niacin, manganese etc. They are an excellent source of protein as they are 25% protein. They are also supposed to be naturally free from trans-fat and sodium thus making them a good snack as well. I understand that peanuts were even used to fight famine due to their nutritive contents. It seems roasted peanuts have a high anti-oxidants contents – even greater than apples and carrots. Groundnuts are also called peanuts, monkey nuts (usually with the shell), earth nuts and pig nuts.
Handful of peanuts
2 inches piece ginger chopped
¼-1/2 teaspoon tamarind paste
2 tablespoons coconut powder or dessicated coconut or fresh grated coconut
2-3 dry red chillies
Salt to taste
½ teaspoon mustard seeds
1 sprig curry leaves (optional)
Microwave safe dish
If you have ready roasted peanuts, well and good but you could even roast them quickly in a microwave. Put them a microwave safe dish and cook on high for a minute. Stir them so the heat gets evenly distributed. Heat on high for another minute. Depending on the wattage of your microwave by now the skin may start to peel in the nuts. Heat for no more than a minute after you notice this. Keep aside and remember they become crisp only after they cool. Grate or chop the ginger and add the tamarind pulp and cook for a minute. Put this mixture, roasted groundnuts, dry red chillies and salt in a mixie or food processor and grind. Add required amount of water to get desired consistency and ease the grinding. In a pan or kadai heat 1 teaspoon cooking oil and after is heats add mustard seeds. Once it splutters, add washed curry leaves and serve.
Based on your preference you could even grind the curry leaves along with other ingredients. You could also use Urd dal for tempering.