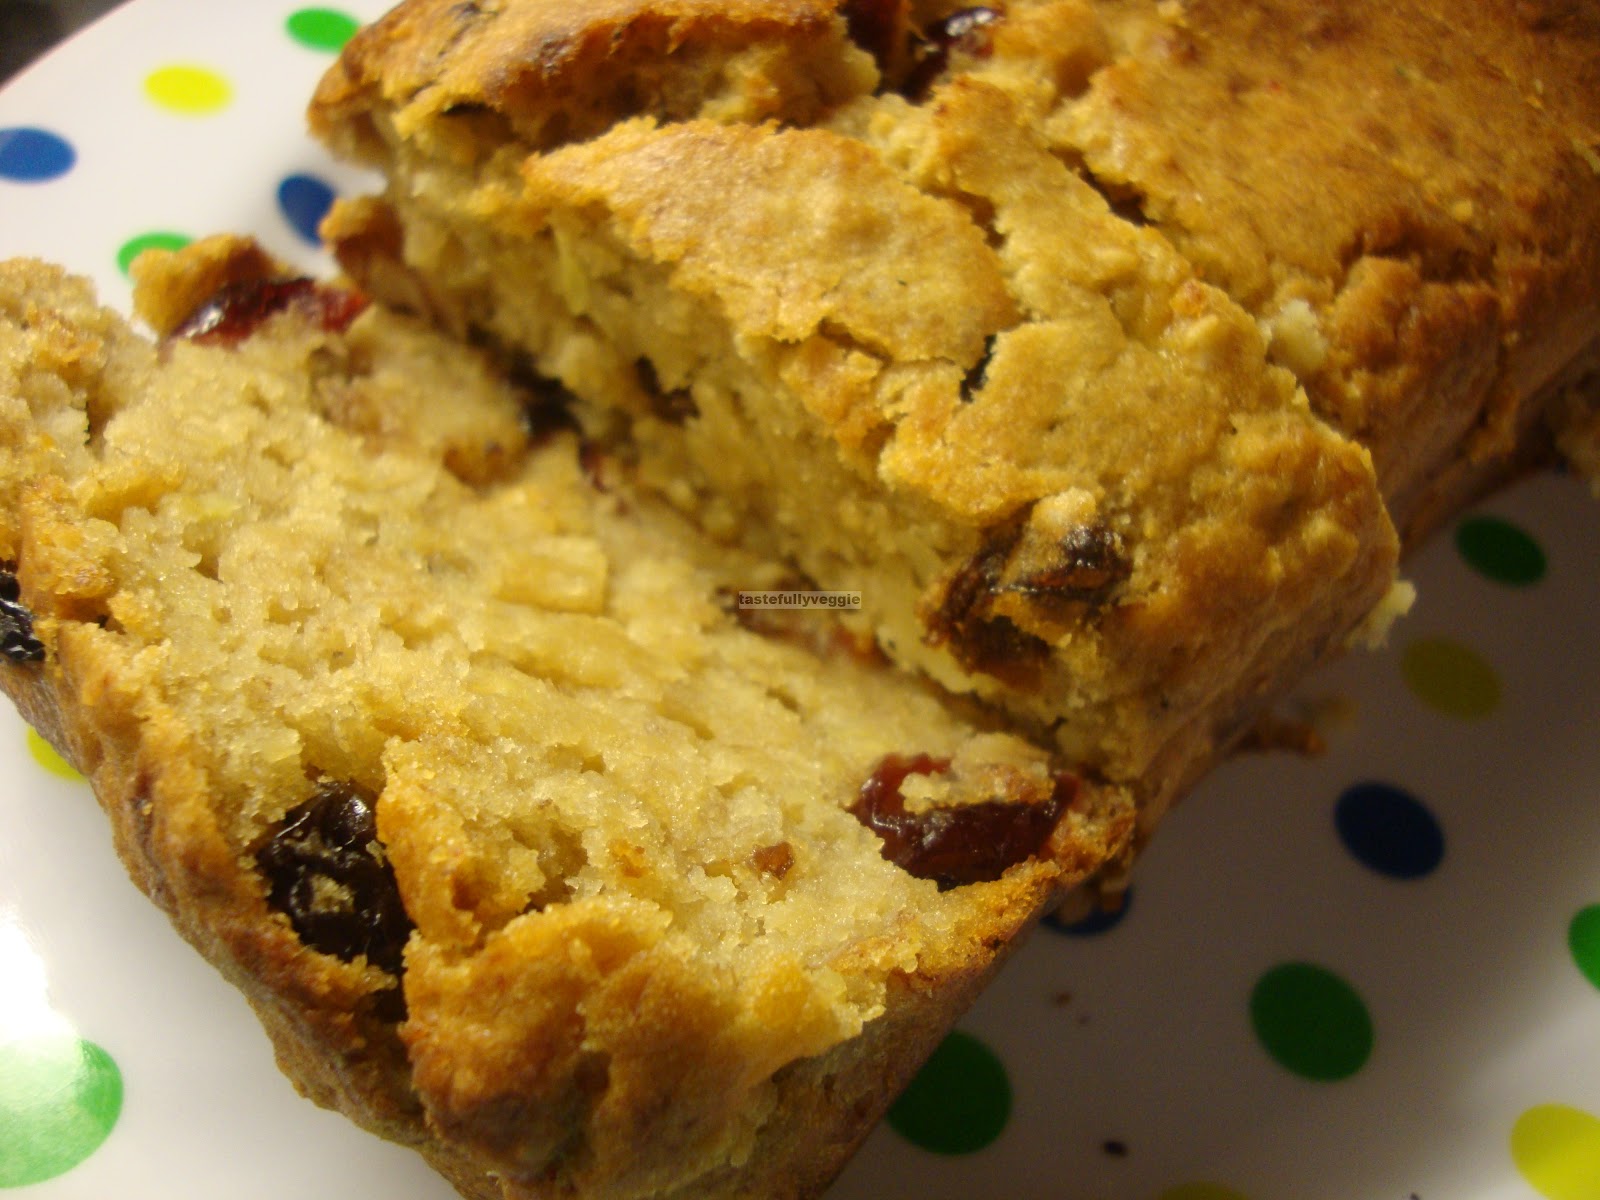
Badam Halwa (Almond Pudding)
It is said that success is a journey, not a destination and that is so true. Well, I know there are several other food blogs with even thousands of recipes and my milestone is quite a humble one but I think it is unfair for me to compare with others, each one being different. So, am going to give myself some credit and pat myself on my back for coming this far. I am very glad that I have been able to sustain my interest and not let it die away with just a few recipes. On the contrary, my interest has increased several folds and am trying to research more and more about ingredients, get hold of many forgotten ingredients and so on. With the intent of sharing as many healthy yet tasty recipes, I started off with just pictures of the final dish. I then thought it may be helpful to show step by step pictures as a picture speaks a thousand words isn’t it? For the lowest level of amateur photographer that I am, I was pleasantly surprised to receive good feedback about my clicks. I am hoping that soon I will post video recipes atleast for some recipes which seem rather tricky for many.
Coming to the 300th recipe, there is probably nothing innovative about the recipe as it is a very traditional dish and very simple by itself so adapting it would not have made meant much. Reason I wanted to post this for this milestone is that it is my husband’s favourite sweet (he does not like sweets otherwise). It was him that prompted me to start a website (in the end I chose blog) and despite not being adventurous with food he has tried almost all the dishes I make. I do not normally tell him what is in the recipe but allow him to give the feedback and these days his guesses are getting better and thinks I add goodies like millets, lentils etc. to most of the dishes I make. Having said that there is nothing innovative about this recipe, I can assure you that it is a fool proof halwa recipe. The struggle many have is usually with final consistency as some end up with a hard cake rather than a soft halwa or for some it may not come together. As we do not have a sweet tooth I added less sugar, however equal amount of almond and sugar would probably be just right for someone who likes sweets. Thanks to all the readers, especially the ones who have taken time to try my recipes, leave comments/feedback/idea. Without you readers it may have been a bit pointless running a blog. Thanks to my family for the continuous encouragement, without them I would have had nothing to write about.
2 cups almond
1 ¾ cups sugar
2-3 pinches saffron strands
About a cup of milk (may need more or less)
5 teaspoons ghee
Soak almond in hot water for atleast an hour and remove the skin
Put it in a mixie/food processor and add just enough milk to cover it and grind to a not so smooth paste
Heat couple of spoons of ghee and add the ground almond. I did add a little water to rinse off the mixie jar and added it. Add the sugar and stir well. Now begins your 20-30 minutes stirring exercise! Do not leave it at all as it will burn very easily
After about 10 minutes of stirring, add the saffron strands and more ghee and keep stirring until the ghee separates from the rest
Garnish with some almond flakes and serve!