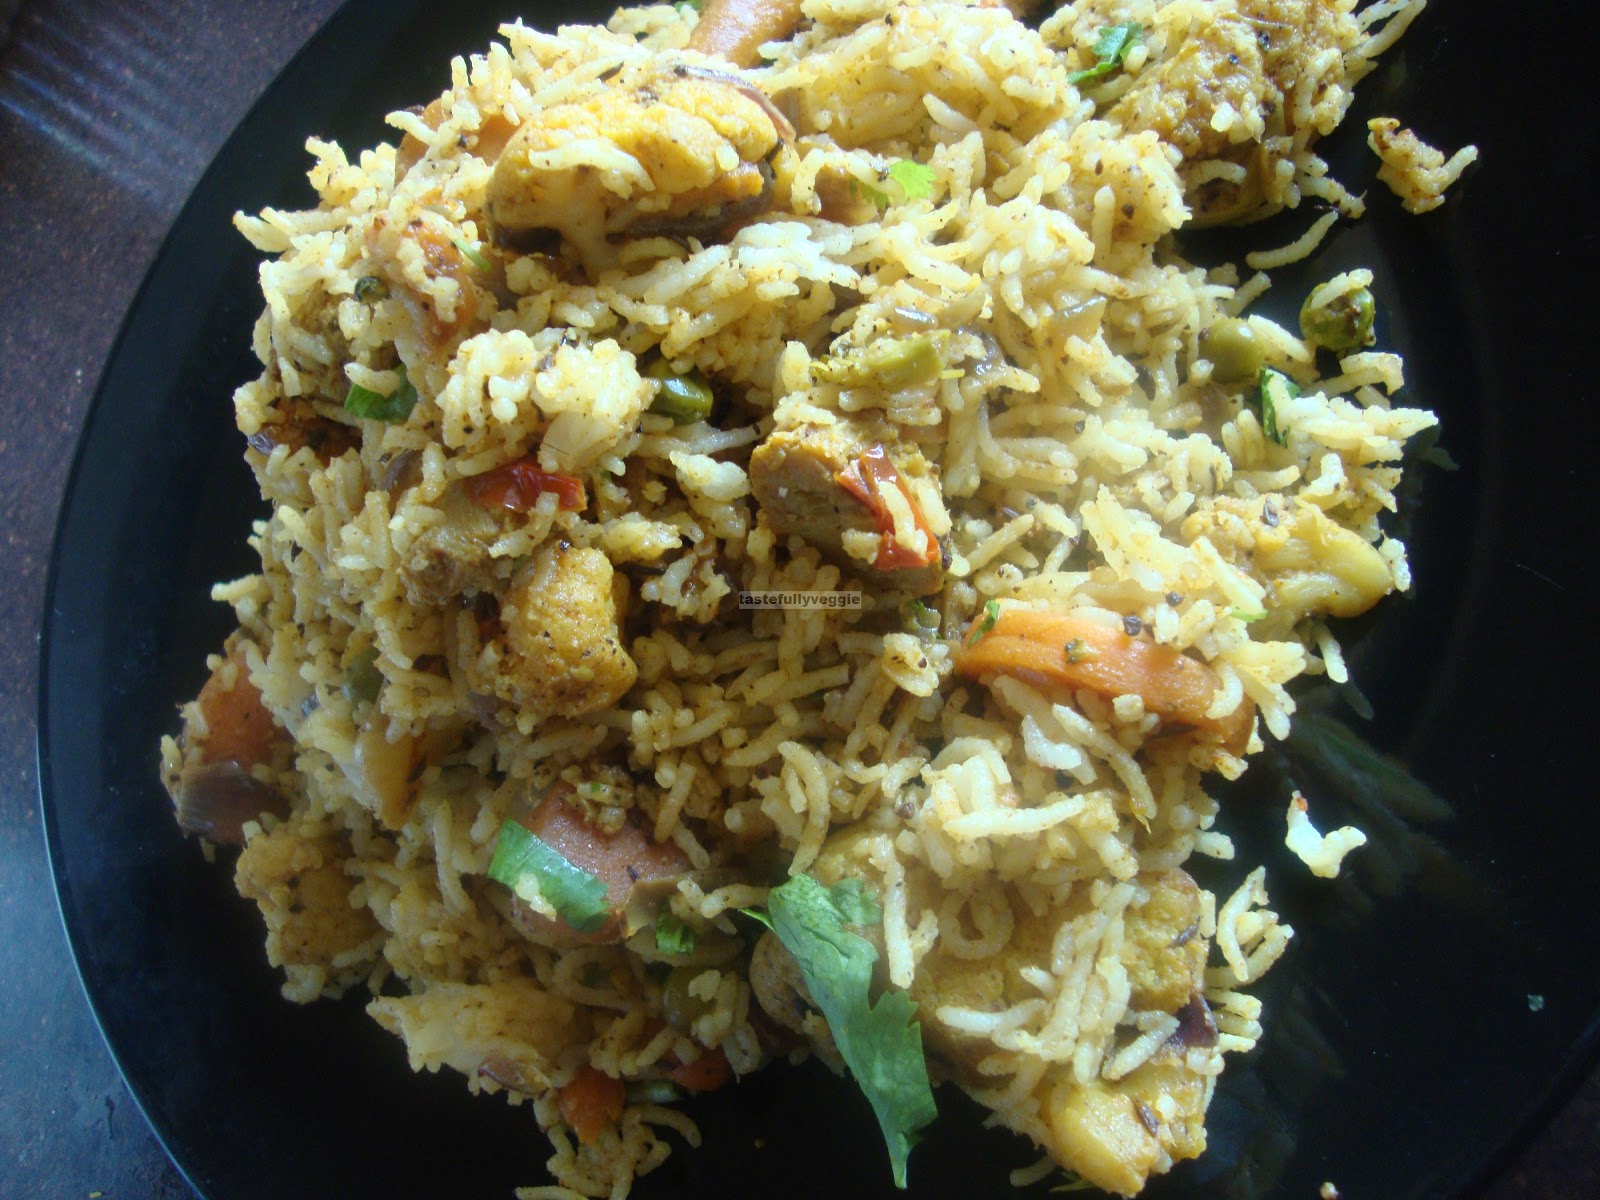
Soya Vegetable Biryani
Biryani is a very
popular rice dish, especially he non vegetarian ones are a favourite for many.
I have tried vegetable biryani in many places but there are very few that I
liked. In general, it takes a bit of time to do it the traditional way.
Traditionally one will have to grind spices, partially cook rice and vegetables
and layer them and cook them until done. However, these days, I barely get time
to cook and often, I get time in bits and bobs so any dish that needs constant
attention is out of question. Today was no exception, we had a long night and
grabbed the opportunity to sleep in the morning leaving me very little time to
cook. I had a packet of hyderabadi biryani masala powder by MDH in my shelf and
like all spices, it is better to use them as soon as possible. For that reason,
I thought I will make biryani. My previous attempts to make biryani were not
particularly successful as I was not very happy with the results. This box of
spices was for lamb biryani, hold on, it is only a spice blend and there is
nothing non-vegetarian in the spices itself. I wanted to substitute the lamb
with some other protein instead and soya chunks caught my eye. I am not sure I
will buy soya chunks again as it is processed soya after all, but am undecided
about it. I wanted to use what I had but have to sneak it as my husband does
not quite like it. With all this together, came along a wonderful biryani and it
tasted absolutely spot on. Certainly a keeper! I have observed that using spice
blends meant for non vegetarian dishes is quite good in vegetarian versions.
Now for the recipe...
Handful of soya chunks,
boiled and cooked till done
2 cups mixed vegetables
1 large onion, chopped
1 teaspoon cumin seeds
1 teaspooon coriander
powder
Turmeric powder
1 teaspoon chilly
powder
4 cloves garlic
1 heaped teaspoon biryani
masala
1 tomato, chopped
1 tablespoon yogurt
2 teaspoon ghee
Cooking oil
2 tablespoon chopped
coriander leaves
1 cup rice, cook so
grains are fluffy
Heat some oil and some
of the ghee mentioned. Add cumin seeds and once it browns, add the onions and
crushed garlic

After the onions begin
to change colour, add tomato and turmeric powder

Once tomato starts
turning mushy, add the vegetables and cook until almost done

Add the cooked soya
chunks, coriander powder and chilly powder

Heat the remaining ghee
and little bit more oil and fry the briyani masala, this will wake up all the
spices in it and make it more flavourful

Add the masala and
yogurt and cook until it is aromatic and all moisture has gone

Add rice, salt, mix and
garnish with coriander leaves, serve!