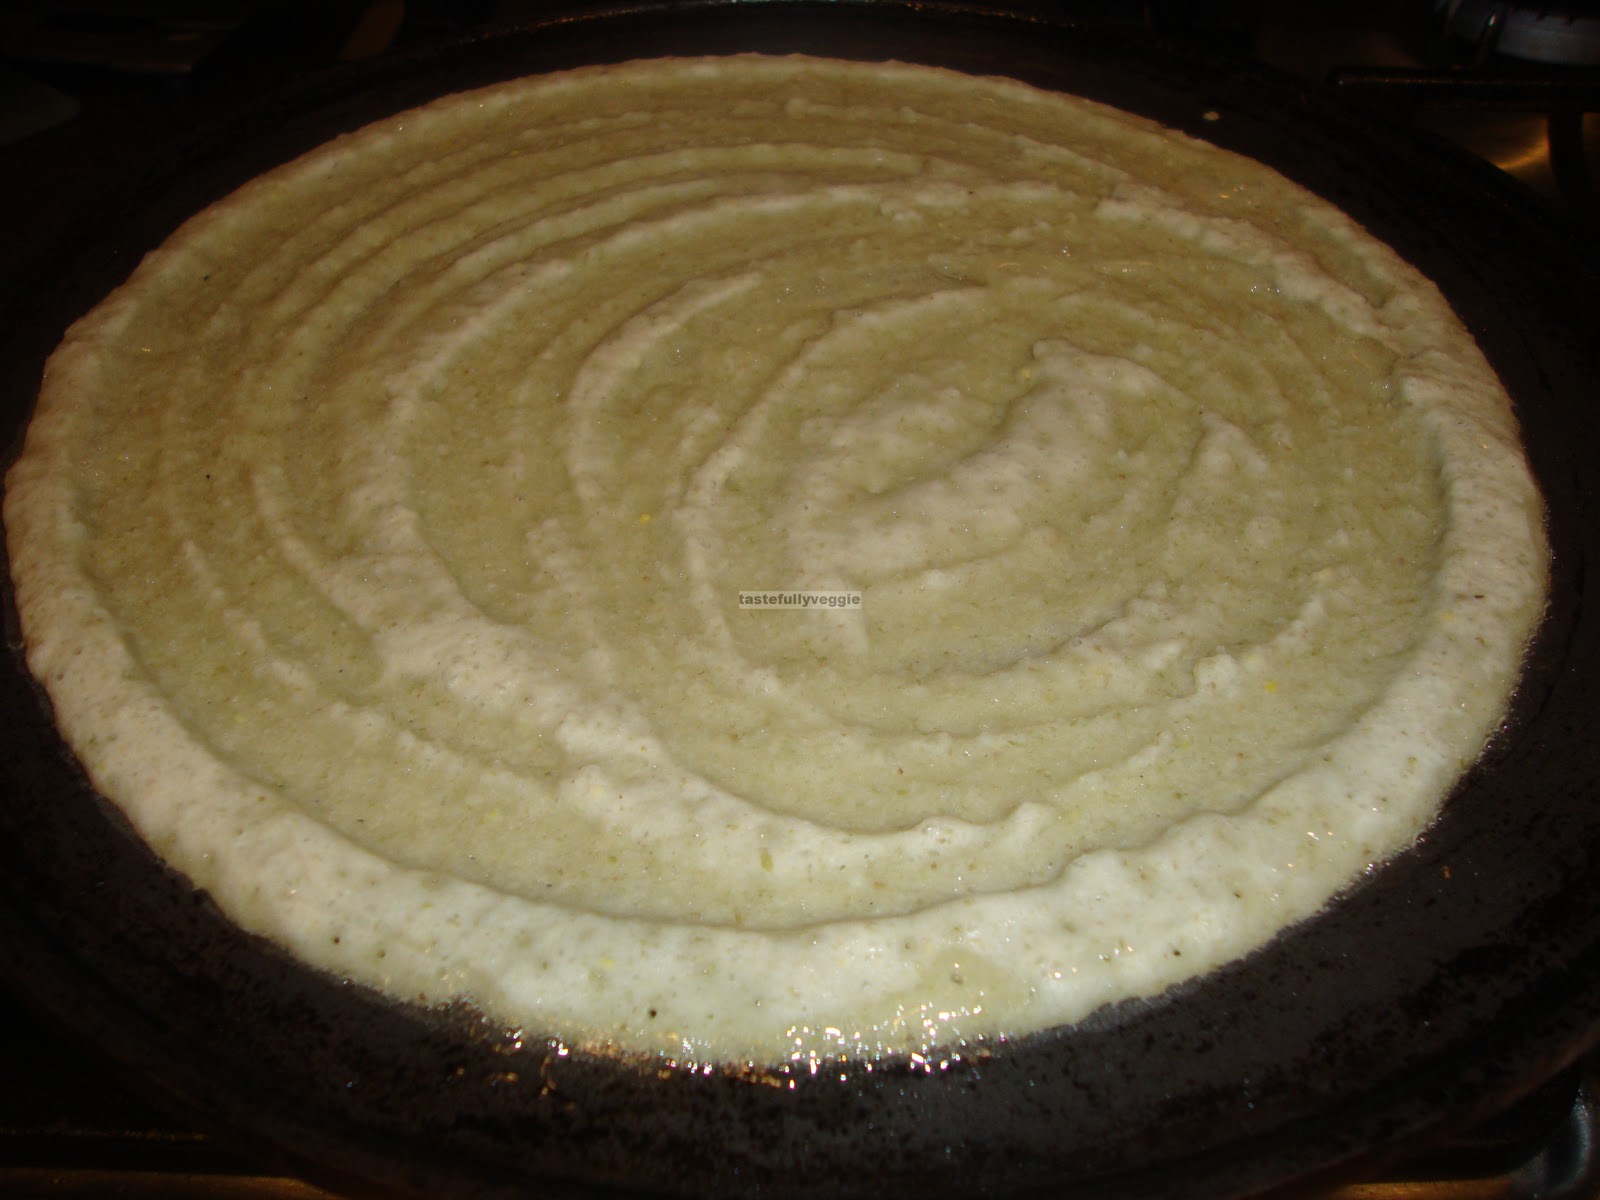
Saturday 28 January 2012

Drumstick Chops (Murungakai Chops)


Drumstick Chops


One more veggie that I certainly miss in this part of the world. I would normally buy a few of them during my quarterly Indian grocery shopping, chop them and freeze. Then I started noticing that if the fresh veggie was not very good then the frozen one has no flavour or flesh. I then started using them soon after I return from the shop. I was once left with three of them to use up and they were not particularly great so chose not to make sambar with them. My sister-in-law had made this dish when we were at her place and I quite liked it. It is incredibly simple but very tasty and a must try if you like drumsticks. With due credit to my SIL, here is the recipe…

3 drumsticks, cut into about inch and half long pieces
3 tomatoes, pureed
1 onion, finely chopped
Turmeric powder
1 teaspoon chilly powder
1 teaspoon mustard seeds
Asafoetida
Few curry leaves
Salt to taste
Cooking oil

Heat some oil and add the mustard seeds. Once it crackles, add the onions and fry until it just changes colour then add turmeric powder

Add the drumstick, pureed tomatoes, chilly powder, asafoetida, curry leaves, salt and enough water and cook covered until drumsticks are done and desired consistency is achieved


Serve with rice


Friday 27 January 2012

Methi Muthiya


Methi Muthiya


I have a few gujarati dishes, especially snacks that I have on my to try list. One of those was muthiya. It derives its name from the fact that we hold the dough in our fist and that is what muthiya refers to. It is a very simple dish but tastes very delicious. It is a great snack or even a breakfast. It also makes a great finger food for young ones and the fact that it is not deep fried, yet tasty makes it even more appealing to me. Normally, people would add some soda bicarbonate to it but I avoid it as much as possible. I have tried this dish with and without those pinches of soda bicarb and I did not find it to make much of a difference. If you do not have fenugreek leaves, use any herb of your choice, like coriander maybe. I quite liked it even without any chutney. Here is the recipe…

Handful of fenugreek leaves
½ cup wheat flour
¼ cup semolina, rava
¼ cup besan, chickpea flour
Salt to taste
½ teaspoon chilly powder
Turmeric powder
Asafoetida
Juice from one lime
1 teaspoon sesame seeds
½ teaspoon mustard seeds
Cooking oil

In a bowl mix together chopped fenugreek leaves, wheat flour, semolina, besan, salt, chilly powder, turmeric, asafoetida, lime juice and little oil and make a dough


Divide this dough into 4-5 equal balls and roll them to form cylinders about the length of your palm

Steam these cylinders for 15 minutes, cool then ut to bite size pieces

Cut them into bite size pieces while heating some oil and adding mustard seeds. Once the seeds crackle, add sesame seeds

Add the cut pieces and toss so they get coated with the tempering and also kind of shallow fry in the oil. Shallow fry is probably not the right term as you do not need even that much oil, it is more of roast them by tossing them every now and then.

Serve with green chutney or just on its own

Saturday 21 January 2012

Cranberry Shortbread


Cranberry Shortbread


I am so excited about using up stuff from my pantry as it seems to give me a sense of accomplishment to see a packet going empty. I must admit that sometimes I would buy some ingredients thinking I will find some use for it later. And that later would not easily come because I may have been wary of trying something new and keep pushing its use until the use by or best before date. When it comes to best before date, I usually use my sense organs - sniff, taste and decide. This recipe was whipped up so I could be done with the pack of dried cranberry that would have gone past its best before date this month end. I quite like shortbreads because they do not need any raising agents, there is pretty much nothing to stop nutrition absorption (not that the traditional shortbread recipe of flour+butter+sugar offered much nutrition to absorb). What I mean is it was a good inspiration for me to use some nice ingredients in this as I know if it comes out well, it will go down with everyone very easy. I decided to make it fibre rich by adding some bran; nutrient rich and lesser in processed ingredients by adding more whole wheat flour than all purpose flour; added brown sugar instead of refined sugar; vitamin rich and good fat rich by adding ground almond. The butter was ofcourse to bind them together and form the shortbread biscuits. You could replace it with margarine if that is your preference. They came out so good that I could not keep away from them and even spoilt my appetite for dinner.

¾ cup whole wheat flour
¾ cup dried cranberry
½ cup all purpose flour
¼ cup bran
½ cup brown sugar
100gm butter, softened
½ cup ground almond
1-2 tablespoon milk

Mix all ingredients together (first the dry ingredients followed by butter then gauge how much milk is needed) to make dough that can be held together in your fist but will disintegrate if pressed by thumb

Take a portion of the mixture, roll into 5-8mm or so thick disc and cut into required shapes and place on baking paper lined tray


Bake at 180degC for 8-10 minutes, until edges browned

Transfer to cooling rack and serve

Friday 20 January 2012

Mooli Jowar Paratha


Mooli Jowar Paratha


There were times when mooli (white radish) was available at Tesco here but these days I barely find any vegetables of Indian origin. Thankfully they atleast continue to sell okra. Anyway, reason I mention this is because it is not often that I lay my hands on mooli although I like the vegetable. I am not a big fan of its smell but considering I either make raita or parathas with them, they do not smell too bad as they are not cooked long. I would normally make regular wheat parathas with mooli stuffing and must say that I struggle to get it well shaped as mooli can be quite watery and make the rolling process a challenge. When I feel like I should rather have some other cereal/grain, I make mooli jowar (sorghum) paratha. I have made it a couple of ways. One is how I have mentioned below, another is by skipping whole wheat flour and using bajri so it can be taken by wheat intolerant people as well. Either way rolling these parathas can put some off but I stick to my method of tearing up a ziploz bag and using it so it does not stick. I find cling films to be too thin so they do not serve the purpose for me. The parathas final texture is quite nice, not soft but a bit flaky but not making your throat and mouth feel dry. Here is the recipe...

1 cup jowar flour
½ cup whole wheat flour
1 teaspoon ginger garlic paste
2 tablespoon methi leaves/coriander leaves
2 green chillies, finely chopped
½ cup radish, grated
Cooking oil/ghee
Salt to taste

Mix together the jowar, salt, wheat flour, ginger garlic paste, methi or coriander leaves, chillies and radish. Do not add too much water and make the dough a bit stiff and not as soft as chapatti dough. This is because when we rest the dough, the radish will give away some water and make the dough even more watery and sticky. Knead the dough with some oil. Rest it for about 30 minutes and knead again before making parathas


Make a large lemon sized balls. In order to make the parathas, cut a zip loc bag on its sides so it opens like a rectangle. Dust the ball with flour and place on one side of the Ziploc bag and cover it with the other side. Roll to flatter disc couple of times then dust again. Roll to desired thickness but bear in mind this will not be as thin as chapattis. Put the whole Ziploc with paratha on one palm and slowly peel it off from the zip loc


Cook on medium flame until both sides are done and drizzle some ghee/oil.

Serve with pickle and yogurt.


Sprouted Mung Bean Dosa


Sprouted Mung Bean Dosa


Sprouting beans is a great way to enhance their nutritive value however I noticed that not everyone likes to eat them straight away. I also struggle to just eating raw sprouts. I usually briefly shallow fry store bought sprouts if I was adding them to rice but whenever I sprout beans at home I normally find a recipe in which it gets cooked. That way, this dosa (savoury crepe) recipe is quite good because you will not realise that it has sprouted beans in it. I either read this bit of info somewhere or I am totally making it up – very young sprouts are more nutritive than mature ones (i.e. small budding sprouts are better than the long shoots). In order to increase the nutritive value, I added brown rice to the recipe. This increases the bulk and keeps one fuller for longer. Some may have noticed that when they consume protein rich food, it actually fills them up quicker than carbohydrates rich food. This dosa is quite filling and by the time I finished two normal sized home made dosas, I was full. For those who are calorie conscious, this is a great meal. I made egg curry to go with this as I did not want to go through the hassle of grinding a chutney as I had already lined up a list of things to grind. I would suggest that this be served with some tangy chutney or egg curry/kuzhambu.

1 cup mung bean sprouts
½ cup brown rice (or white rice)
½ cup par boiled rice (idli rice)
1/2 teaspoon fenugreek seeds
Salt to taste

Soak the rice and fenugreek seeds together for about 6 hours

Grind to batter along with mung sprouts and add salt. Batter should be similar to normal dosa batter consistency

Spread aladleful of batter on a hot tava, drizzle some oil, cook until bottom side turns golden then flip and cook until done

Serve with tangy chutney.

Wednesday 18 January 2012

Dal Fry


Dal Fry


Most Indian restaurants in Inverness are not really Indian so it is not all that easy to find genuine Indian food. Being vegetarians, our options are limited and I usually go for sag aloo or bhindi bhaji and dal. Although the menu would say tadka dal, it would not usually have the traditional tadka. However, I must say that it tastes quite nice and different from the usual dal recipe. If you are a vegetarian or even a non-vegetarian conscious of calories, then you would appreciate the need to have lentils and pulses in our everyday diet. Adding them to sambar and rasam is a good option however, it is probably not for everyone. Knowing a number of different dal dishes I think would come in handy and you could be surprised by how many different flavours you could impart to these otherwise bland ingredient. This recipe was my attempt to re-create the restaurant dal and my husband’s feedback (he is the one who likes their dal more than me) was that I had outdone them. My honest opinion is also the same. In my earlier attempt to reproduce the dish, I was not very successful as I used garlic powder. Over time, I think my cooking skills are maturing so after recently tasting the dal, I figured it must be garlic paste that imparts that flavour. Bingo! I added wee bit of coriander powder and amchur powder (dry mango powder) as the latter imparts some sour flavour. This is optional though. It is a very simple dish best served with freshly steamed rice and sabji or chapattis.

1-2 teaspoons garlic paste (depending on how garlicky you like)
½ teaspoon chopped ginger
½ cup tuvar dal (pigeon peas)
¼ cup mung dal
3 green chillies
2 tablespoon finely chopped coriander leaves
½ teaspoon coriander powder
¼ teaspoon amchur powder (dry mango powder)
Turmeric powder
Cooking oil
1 teaspoon ghee
1 small onion, sliced

Cook the dals together with turmeric powder ensuring the dal is mushy. I also ran my hand blender so it was well mashed but this purely depends on your preference

Heat little oil and add the onions and brown. You could add a couple of pinches of sugar so it helps caramelise and brown. Keep aside

Add bit more oil and ghee and once hot, add the garlic paste (mine was rather coarse paste), ginger, green chillies and fry well until browned and ensure raw smell goes

Add dal, required water, salt, chopped coriander, coriander powder, amchur and simmer for about 10 minutes stirring often and adding water as needed

Garnish with browned onions and serve hot

Thursday 12 January 2012

Bran Orange Cranberry Muffin


Bran Orange Cranberry Muffin


I am trying to figure out ways to use up the bran in my pantry and what better than sneak this fibre into a muffin. I think that is one of the most pleasant ways to consume bran. Like always, I tried to reduce the use of refined flour and used more wholewheat flour and ofcourse did not use butter but used oil instead. The orange zest and juice both gave a refreshing flavour and it was so great to bite into those cranberries every mouthful. I try to keep the ingredients and procedure simple because it makes the baking experience less of a hassle and gives time to clean up. I have always observed that whenever people have something like chocolate muffin as a snack, it is the fat and sugar in it that fills them but this muffin will keep you full with real good stuff like wheat, bran and ofcourse cranberries. Here is my way of doing it (about 10-12 muffins)...

½ cup bran
¾ cup wheat flour
½ cup all purpose flour
1 ½ teaspoons baking powder
½ cup brown sugar
1/3 cup sunflower oil
½ cup chopped dried cranberries
¾ cup freshly squeezed orange juice
Zest of one orange, grated
About ½ cup water

Mix together the bran, flours, sugar and baking powder

Pour the orange juice in a saucepan and add the cranberries and mildly heat for about five minutes to plump up the cranberries. You could skip this step and add both directly

Pour the orange juice with cranberry, oil, orange zest and mix until combined. Add water as required to make a batter to spooning consistency

Pour into muffin moulds (greased if using non-silicone ones) and sprinkle a pinch of raw sugar on each of them and bake in a preheated oven at 180degC for 20 minutes or until a skewer inserted comes clean

Transfer to cooling rack before you start enjoying this yummy and healthy snack


Wednesday 11 January 2012

Mavu Laddu (Maa Laddu/Payatham Maavu laddoo)


Mavu Laddu (Maa Laddu)


As far as I have seen most grandmothers of people of my generation have been stay at home ladies. I do not like to use the word housewife or homemaker because I think they both understate the amount of work they did. Anyway, reason I talk about grandmothers is that usually they make such yummy dishes that are quite traditional as well. Very often there is a medicinal value attached to these dishes and sometimes they can be pure indulgence. Either way, they taste great. I have always wondered if I would be able to churn out dishes like my grandmothers and mother. My maternal grandmother would make Mavu Laddu (Mavu is flour and laddu refers to a sweet ball). She would normally use besan (chickpea flour) but sometimes use mung dal flour as my husband prefers the latter. They would literally melt in the mouth and you could easily lose count of how many you have had. I am now faced with an enormous task of using up stuff from my pantry as the shelves have begun to sag now and I know that this is the limit. I am hoping that in the next 6-8 weeks I manage to clear out most of it and one such ingredient was roasted mung dal flour. I also had half a packet of butter sitting on the counter (softening as I was hoping to make some biscuits the previous day). When you put these two things together, comes the wonderful laddu. Quick call to Chennai to clarify the recipe and there came the yummy laddus. It is not difficult to make them and does not involve non stop stirring etc. but the hard part is making the balls while the mixture is still hot. They will not hold together once cooled too much. Despite the fact that I am used to ‘not entirely white collar’ job, it was quite hot. Anyway, the ghee would heal the wounds :)

1 ½ cups mung dal flour
1 ½ cups sugar
½ cup ghee, melted
Few cashew nuts

Heat little ghee and roast the flour until raw smell goes. I had bought roasted flour but still chose to roast it to wake it up and be sure

Heat couple of spoons of ghee and fry the cashews until golden. Melt the remaining ghee

Grind together the sugar and the flour in a mixie/food processor

Add this to the ghee cashew mixture and gradually add ghee and keep mixing until it gets to a consistency where if you make a ball with some of the mixture it holds firmly. Ofcourse a little bit more ghee will only make it even more yummy. Note that the mixture should not be on fire while carrying out this process

Bare the heat and make laddu of desired size, cool and enjoy them!