Tuesday 30 August 2011

Vanilla Tart (Low Fat Eggless)


Vanilla Tart (Low Fat Eggless)


Making western dishes has not been my strength mainly because I barely get opportunity to do so. My husband prefers Indian dishes, particularly south Indian and also the fact that there are ever so many Indian dishes I am yet to try gives me limited incentive to explore alternate cuisines. I do think that in order to be a good cook, one needs to try a variety of dishes and also was hoping that I could lure my wee one into trying some western dishes every now and then. I had bought fromage frais which is a curd cheese as well but much lesser in fat and cholesterol than cream cheese. I chose to use this instead of a full fat cheese filling. This tart is a kind of hybrid between a cheesecake and traditional tarts. The mixture of whole wheat flour and all purpose flour helps keep it healthy and delicious at the same time. I also used olive oil instead of butter to make the pastry so saturated fat is reduced. It is not too sweet so if you do have a sweet tooth you may want to add bit more sugar to the filling.


For the pastry:
½ cup all purpose flour
¾ cup whole wheat flour
50-60ml (1/4 cup) olive oil
Pinch of salt
2-3 tablespoons sugar
Cold water
For the filling:
500g fromage frais
1 teaspoon corn flour
3 tablespoon sugar
1 teaspoon vanilla extract
Slices of fruits of your choice for garnish

To make the pastry:

Add the flour, sugar and salt in a bowl and add the olive oil. Mix so it looks like breadcrumbs and add water and make a soft dough that is well combined

Divide this dough into about 6 portions (I used mini tart tins so I divided the dough, you could use it to make one big pastry (I would say about 18-22 cm tin) and roll each one into a disc about 3-5 mm thick, I used few drops of oil to help roll instead of flour and line the tin with the pastry ensuring the corners (where the base meets the side walls) are pressed into properly so you get a nice shape when baked


You can trim the excess dough by rolling the rolling pin over and pulling the dough away. Be careful not to stretch the dough when lining the tin as the dough will shrink far too much when baked

Prick several places on the base with a fork and bake at 180degC for 10 minutes. I did not use baking beans because I did not have any. You could put an oven proof aluminium foil on the lined tin and put some baking beans or even red kidney beans. This will help prevent the dough from raising and even baking. If you do so, bake for 10 minutes, remove the foil and beans and bake for further 3 minutes

Let the pastry cool so it is crisp before filling

For the filling:

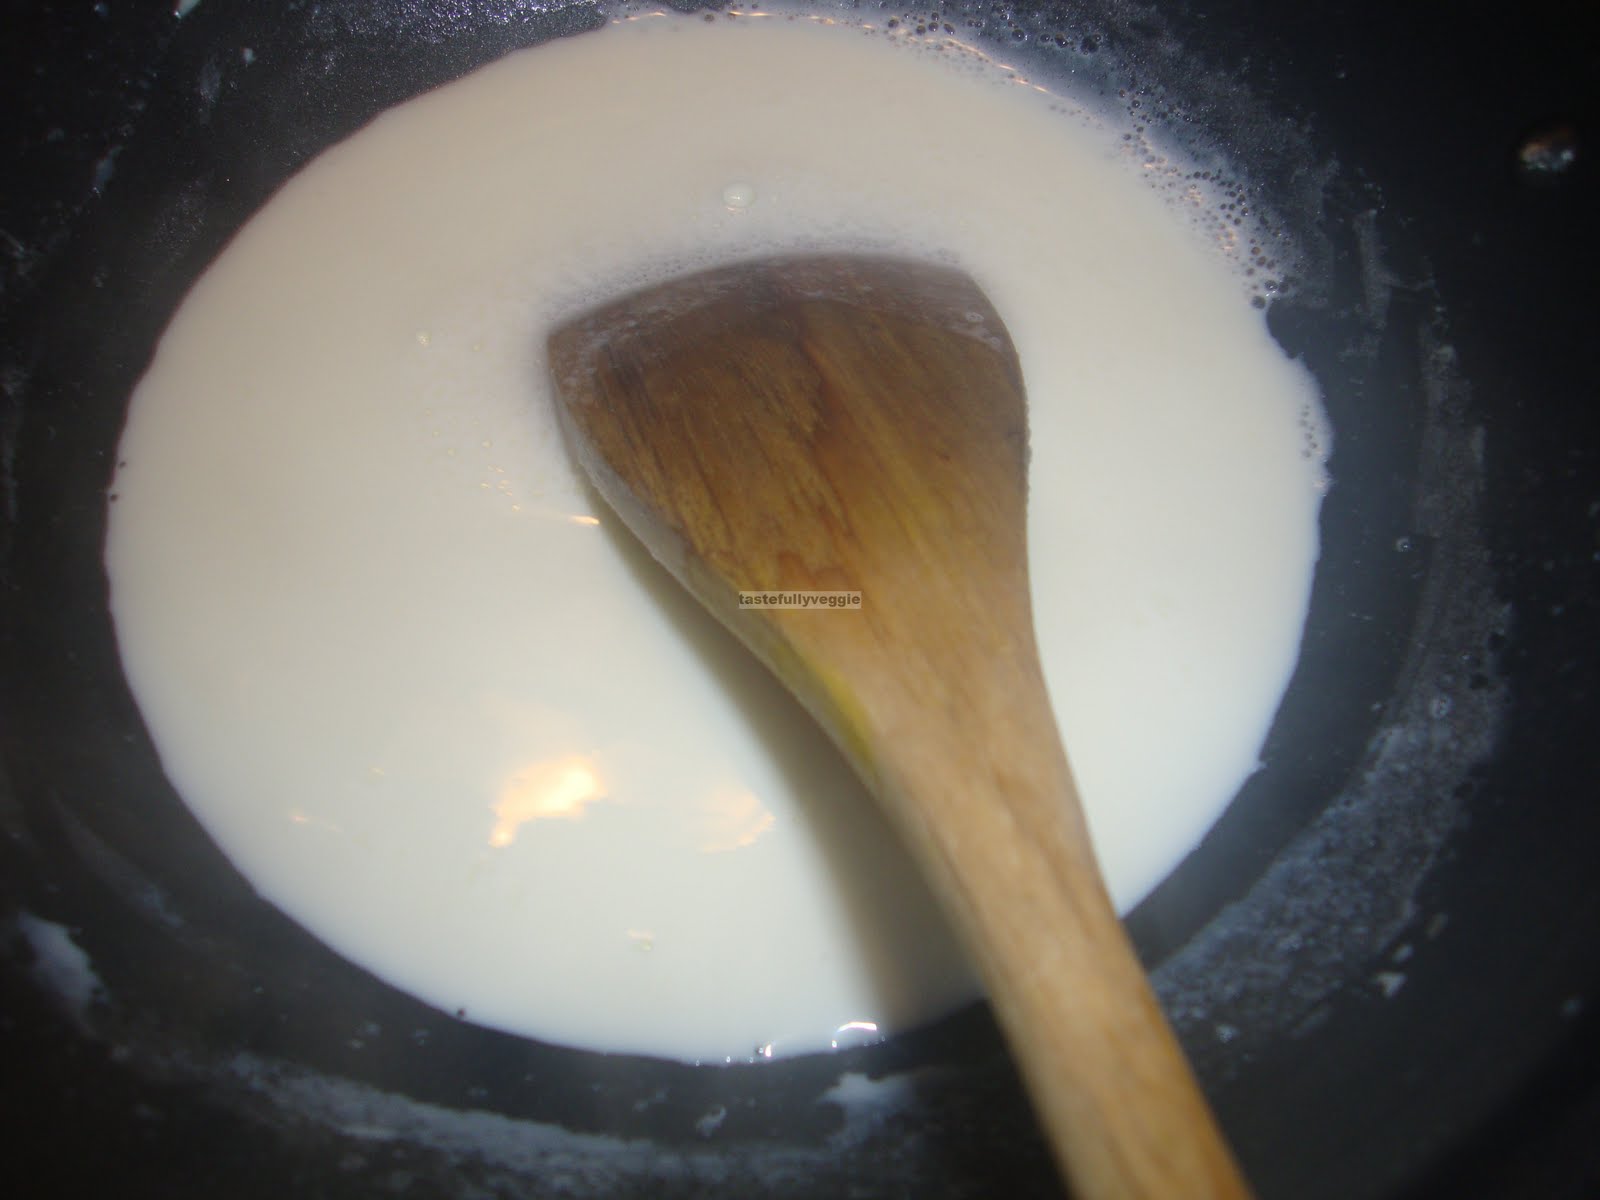
Put the fromage frais in a muslin cloth or a white cloth, roll it and squeeze excess water out. Alternately, let the fromage frais on the muslin cloth sit on a collander with a bowl placed underneath so the water drains. It may take about 2 hours or so but I prefer to squeeze it out as it prevents the cheese from becoming sour sitting outside. Some people put it in the fridge to avoid sour cheese

Mix the cheese with the sugar, vanilla extract and corn flour

Fill the pastry case with this mixture and bake at 180deg C for about 10minutes

Garnish with cut fruits and sprinkle some sugar and serve. You could also sprinkle some sugar and put in the oven at 200degC for about 3 minutes so the sugar caramelises.


Saturday 20 August 2011

Corn Kheer (Sweet Corn Pudding)


Corn Kheer

When I saw a blogger friend of mine post this recipe on her blog, I thought I should try making it. Corn cob is by far less expensive in India compared to here so I was not sure if I should give this a shot with what is apparently an exotic ingredient here. I finally managed to find the time and energy to make this but still decided to make it using frozen corn kernels. I thawed it and ground it coarsely in my food processor. I also added some almond powder to it to enhance the flavour. Although it looked appealing, I wanted to taste it before I offered it to others and I must say that I felt sorry for making just enough for two people. It was so yummy and is a keeper. If you prefer, you could grind the corn fine. Here is the recipe...

1 cup frozen corn kernels, ground coarsely
1 cup milk
1/8 to ¼ cup sugar
2 tablespoon ground almond
Crushed nuts for garnish

Boil the milk and start stirring when it just begins to boil

Add the crushed corn kernels and cook in low flame until it is cooked and the milk reduces


Add the almond powder and sugar and simmer further until desired consistency is achieved, grnish with crushed nuts and serve

I may add a wee bit of saffron strands next time

Thursday 18 August 2011

Mung Dal Dosa


Mung Dal Dosa


There are days when I just cannot be bothered standing and making the rotis although I have pretty much mastered it now and do it much quicker than I used to. On such days I usually fancy a quick South Indian dinner and resort to the wide variety of tiffin items. I wanted to make dosas but did not have the time or energy to make fermented batter as I only thought about it in the afternoon. If that is not enough, I had a Sunday afternoon nap, which by the way is such a great way to recharge for the week and decided I will make a dosa for dinner giving me limited soak and grind time. I have heard people mention pesarattu a few times but knew that is made with whole mung bean and would need to be soaked longer. I resorted to mung dal itself and soaked it for about 45 minutes. My husband had bought a 5kg bag of ground rice thinking it is the same as rice flour (and it is not) so I just started using it by adding little bit of it in this dosa. You can soak the rice along with the dal if you do not have ground rice. The best part about this recipe was that it is not only quick but also low in calorie (approximately 55 calories per dosa) and yet nutritious. If that is not enough, they are so filling that it will automatically limit your calorie intake. Just make a funky shape like a duck or elephant or a cat for your little one and get away with a one dish meal for the whole family. I added vegetables to the dosa itself and served it with tomato chutney.

1 ½ cups mung dal
¼ cup ground rice or raw rice
Salt to taste
Shredded/grated vegetable of your choice (I used cabbage, onion and carrot)

Soak the mung dal and rice for about 45 minutes. If you are using ground rice, you do not have to soak. Grind to fine paste and add salt. The batter should be to pouring consistency, like regular dosa batter


Take a ladleful of batter an spread into a thin dosa (crepe) on a hot tava, spread the vegetables on top and add few drops of oil and once it browns, flip the dosa and cook the other side for less than a minute (any longer will make veggies burn)

Serve with a nice chutney

Wednesday 17 August 2011

Malai Methi Paneer


Malai Methi Paneer


Fresh fenugreek leaves aka methi is rare in my kitchen simply because it is not available here. This summer though we managed to grow some in our garden. My mother-in-law was here not that long ago and before she left, she sowed some seeds and we harvested it couple of days ago. The leaves were tender and we did not want to leave them longer as the rains will destroy them. I could not wait to make this dish that I saw on a television program. It was quite interesting because the gravy is made using curd and not tomatoes which normally is the case. If you count your calories, this is not for you as it has some milk and also some paneer. You could use low fat yogurt to keep the calories lower and could also make your own paneer using skimmed milk. The dish came out great and was fantastic with chapattis (made it as sukka roti i.e. no oil/ghee) and I think it will go well with rice/pulav. If you like paneer, this is a must try, I would say...

1 cup paneer, cubed
Couple of handful of fenugreek leaves, chopped
1 teaspoon grated ginger
½ cup milk
2 cups yogurt
1 big onion, roughly chopped
1 teaspoon black peppercorn
2-3 cloves
½ teaspoon chilly powder (adjust according to taste as peppercorn is also added)
1 teaspoon coriander powder
1 teaspon cumin seeds
½ teaspoon methi seeds (fenugreek seeds)
Turmeric powder
Salt to taste
Cooking oil

Put the onion, cloves and peppercorns together in a saucepan and add water to immerse them and cook until done. Cool and grind this to a paste

Heat some oil and add the cumin seeds and methi seeds and allow it to brown and also add ginger

Add the ground paste and bring to boil, add little water if needed

Add the fenugreek leaves and cook until done, add water if needed

Add the coriander powder, chilly powder, turmeric powder and salt

Once raw smell goes, add the milk and yogurt and bring to boil

Add the paneer and simmer for a few minutes then serve!

Tuesday 16 August 2011

Radish Leaf Masiyal (Radish leaves in Tangy Sauce)


Radish Leaf Masiyal (Radish leaves in Tangy Sauce)


There is something magical about growing your own produce and cooking yummy food with it. This year we decided to grow from seeds rather than buy pots of plants that are about to bear veggies. While most of the seed packets were misplaced, we managed to find radish and sowed it. We were lucky and it has grown in abundance. Looking at the reddish-pinkish bulbs made me so happy and first thing that had to be done was radish raita. The green leaves on top looked so nice and fresh and I knew it was organic because we were the ones who grew it. I did not want to waste the lovely leaves which I am sure like most green leafy vegetables has a whole host of goodness. My grandmother confirmed that these leaves can be consumed and gave me this recipe. It is a must try…

Couple of handful of radish leaves, washed and chopped
1 teaspoon mustard seeds
1 tablespoon channa dal
1 teaspoon urd dal
2-3 dry red chillies
2 green chillies, chopped
¾ - 1 teaspoon tamarind paste
2 teaspoon sambar powder
Turmeric powder
Asafoetida
Salt to taste
Cooking oil

Heat some oil and add the mustard seeds, red chillies, urd dal and channa dal

Once the seeds splutter, add the radish leaves and green chillies. Also add the turmeric powder and asafoetida and sauté until leaves wilt

Add the tamarind paste and water and cook until all raw smell goes and leaves are done and then add sambar powder and simmer until raw smell goes

Serve with rice, upma or pongal

Saturday 13 August 2011

Drumstick Channa Dal Kurma


Drumstick Channa Dal Kurma


I wish I was in a place where I had unlimited access to drumstick. This vegetable is in season back home so almost all cookery shows have dishes based on it. It is a real shame that I cannot get fresh ones here and everytime I hit an Indian grocery shop in a different city or someone comes from London, I ask them to buy a few for me, cut it and freeze. I must say that frozen ones are certainly not as good as the fresh ones but most of the times that is the best I can get. Anyway, recently I got hold of some fresh ones and decided to make some dish with atleast two fresh drumstick and freeze the rest. First dish I tried is this kurma that has been on my ‘to try’ list for ages. This is chef Damu’s recipe and it worked out good and different from the regular drumstick sambar which is also one of my favourites. The vegetable has such a great aroma that is very appetising even as it is being cooked. Back home there are quite a few dishes that they make using the leaf of the tress in which this veggie grows but obviously I have no access to it. Anyway, I made this for lunch to have along with rice and then had the leftover with vegetable upma for dinner.

1 drumstick cut into 1.5 inch long pieces
½ cup channa dal, soaked for about half an hour
2 tomatoes, cubed
1 teaspoon mustard seeds
1 sprig curry leaves
¼ teaspoon tamarind paste
1 teaspoon chilly powder
4-5 green chillies, slit
Turmeric powder
Asafoetida
Salt to taste
Cooking oil

Grind the following to make the paste –
2 tablespoon coconut (I used desiccated coconut)
1 teaspoon poppy seeds
2 pinches of caraway seeds (add more if you like the aniseed flavour)

Heat a teaspoon of oil and add the mustard seeds. Once it crackles, add the tomatoes, asafoetida, turmeric powder and cook until it wilts and softens

Add the green chillies, drumsticks, curry leaves and channa dal and enough water so there is about an inch of water above the contents; cook covered until dal and drumstick are done. The dal will not get mushy but it is enough if it is well cooked

Add the chilly powder, salt, ground paste and tamarind and add more water if needed. Simmer until all raw smell goes and desired consistency is achieved.

Serve hot with rice, upma, dosa or pongal.

Thursday 11 August 2011

Coriander Chapatti


Coriander Chapatti


Stuffed parathas are a favourite of mine but it is a shame that my husband does not like them. The days that he plans to have dinner out with his team or something I try to make a paratha because it is simple and yummy and will not have to make a side dish and also because it has vegetables in it. Unlike the usual parathas, this is slightly different because for me, this cannot be a meal on its own and I certainly would need a side dish. However, depending on what meal you have this for, for example if you have it for breakfast, it will go well with yogurt. It is quite tasty as the coriander adds great flavour to it and the freshly ground coriander and cumin make it even more appealing. I saw this recipe on a television program and found it an interesting variation. Here is how I made it…

Chapatti dough
1 tablespoon coriander seeds
1 teaspoon cumin seeds
Ginger, grated
Green chillies, finely chopped (optional)
2 tablespoon besan (chickpea flour)
Salt to taste
Chilly powder, as per taste
1 cup of coriander leaves (I chopped the stems fine and used them too)


Roast the coriander and cumin seeds until they start ‘dancing’ on the pan, cool and grind to powder. Some like it fine and some coarse, I did not too coarse. As the quantity was small, I used my mortar and pestle

Take a bowl and mix this powder with besan, chillies, ginger, chilly powder, coriander and salt. Sprinkle water and mix. When you take some of this mixture and press it in your fist, it should just hold together. Just add enough water to do so and not more.

Take lemon sized chapatti dough, roll into a chapatti. Place a small ball of the above mixture in the centre, wrap up and roll as chapatti again.

Cook both sides on a heated tava, just like chapatti and use oil or ghee if you want to

Serve hot with side dish or raita or just yogurt

Wednesday 10 August 2011

Sathumavu Kanji (Home made Multi grain/Cereal Porridge Mix)


Sathumavu Kanji (Home made Multi grain Porridge Mix)


I am sure I would not be the only one with memories of my mother trying to feed me homemade porridge/gruel. It was considered one of the primary source of nutrition for young kids and and a good food for adults as well. The homemade powder that my mother used to make is a multigrain one. Unlike the ready to eat breakfast cereals that we get in the market, the traditional way of consuming this would be boiling it in water or milk and adding some sugar if you like and drink. Making it at home makes it far healthier because there is very limited processing done and the best part of the goodness in these grains and ingredients are preserved. I remember that I never used to like the taste of this gruel but always knew it was super healthy. Not surprising that my wee one does not like it in the traditional form. For that reason I have found other ways to add this to his diet and you can find it in his muffins, pancakes, appams etc. I will post these recipes separately but for now, let’s get to the basic kanji powder recipe. Once you have established that your wee one is not allergic to any of the ingredients, you can start giving this porridge. I have also tried to give some information on the benefit of the ingredients.

1/4 cup Barley – is an excellent source of soluble and insoluble fibre and helps reduce cholesterol and maintain good gut

1 cup Wheat – rich in fiber, reduces insulin resistance and risk of type 2 diabetes, helps gut health and good source of carbohyrdrate

1/4 cup Sago – it is starchy and hence a quick source of energy, has cooling effect on the body and also acts as a thickening agent

3 cup Ragi – great source of calcium for good bone health, iron rich, protein rich and has cooling effect on body. Slow to digest so keeps fuller for longer

1 cup Par boiled rice – rich source of B vitamins as they are driven from the husk into the grain while par boiling, gentle to digest as the starch is ‘gelatinised’ during par boiling, has lower glycemic index keeping fuller for longer

5-6 Almonds – rich in good fat helpful to maintain healthy heart, also rich in vitamin E helpful for skin health. It gives flavour and aroma to the powder

5-6 Cardamom – detoxifying, improves blood circulation to lungs, improves digestion and enhances appetite. Its aroma makes this powder more appealing and inviting

1/4 cup Poppy seeds – anti-oxidant, B vitamin rich and also contains good fat and fibre. Adds a nutty flavour and aroma to the dish

All ingredients except sago also have several other essential minerals required for optimum health.

Roast each ingredient except cardamom. Each one has to be roasted separately as they take different times to get roasted. Cool and grind to fine powder


If you prefer it very fine, sift and use. Store this in an airtight container and it will usually last months as long as the ingredients were fresh. You will not have to keep it for long as it is so healthy that you will notice the difference before and after you start taking the porridge. Remember it is not just for the kids, it is for you as well.