Saturday 25 February 2012

Eggless Mango Cake


Eggless Mango Cake

Baking is so relaxing these days. I find myself wanting to bake if I feel very stressed. It is a bit strange therapy for me, but it works and what better than having something yummy to eat at the end of a stress relieving session. I somehow avoid eggs in my baking mainly because not everyone in my family eats eggs and I noticed that not all my readers eat eggs. Many have been quite keen on eggless recipes and I am trying to make as many as possible. I am trying to perfect my cake making or any baking skills and have been reading a bit about it. This cake recipe, which is dairy free and low in fat, is very easy. However, it is following the nuance disciplines while baking that makes a difference. I was trying my best to make a moist and crack free eggless cake. Even professional bakers get cracks but they tend to cut the top off. Anyway, I tried a few tips I learned over the last few days. Right from sifting the flour – this helps aerate the flour so it will rise. Next is fold the batter slowly in only one direction and just until no lumps can be seen. Anymore mixing will make the cake hard. Tapping the cake tin filled with batter to allow excess air to escape. And most important, have the patience to wait until the cake has cooled before cutting it. Result, a cake that got good feedback from a number of people who tasted it. I used blueberries for topping; you could use any fruit of choice or even skip it.

1.5 cups all purpose flour
1.5 cups mango pulp
2/3 cup sugar
2 teaspoons baking powder
Couple of pinches of salt
1/3 cup oil
½ teaspoon almond extract/vanilla essence
2 tablespoons flaked almonds
Handful of blueberries

Preheat oven to 180degC and grease the cake tin sides and line the bottom with greaseproof baking paper

Put some blueberries on the base of the cake tin and also the almond flakes

Sift the flour and baking powder together

Add the salt and sugar to the flour and mix well

Add the mango pulp, oil, almond extract and gently fold in until just combined. Do not over mix the batter


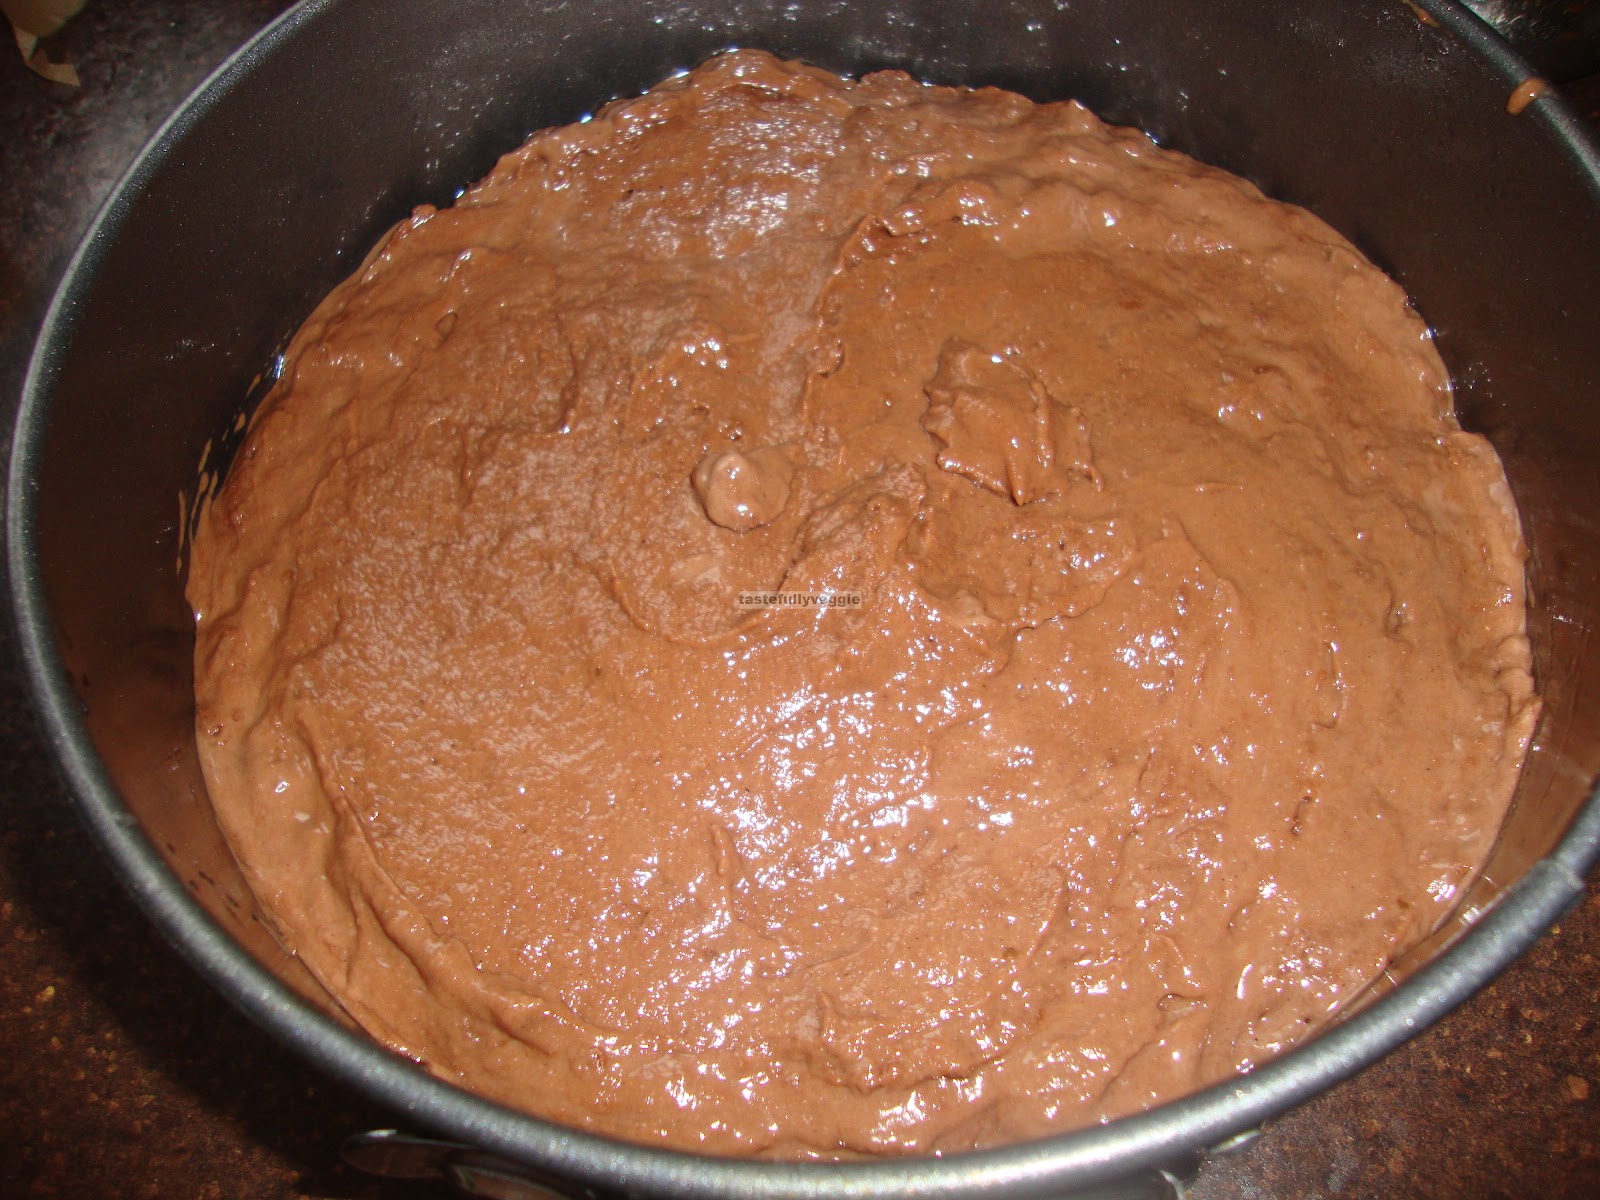
Pour batter into the prepared cake tin and level it. Gently drop the cake tin about 10 times from about 3-4 inches height. This is to allow excess air entrapped to escape so cake rises well

Bake for 30 minutes or so (until a skewer inserted at the centre comes clean)

Cool in the tin for 5 minutes, then open the tin and cool the cake in cooling rack. Put a sheet of baking paper on the rack before placing the cake so the rack does not damage the cake. Also peel off the baking paper from the cake


Once completely cooled, cut and indulge!


Wednesday 22 February 2012

Methi Chapatti


Methi Chapatti


One of the wonderful ingredients Indian cuisine has to offer is methi, fenugreek. The leaves are very nutritious, ofcourse it is no surprise considering it falls under the leafy green vegetable category. It is a good source of fibre and also said to be rich in vitamin C. It is usually said to be bitter although I have never really found to be bitter enough to stay away from it. It is extremely aromatic and even in the dried form it adds a lot of flavour and aroma. It is important that the food is aromatic because the aroma triggers the secretion of digestive juices (yep, that would explain the drooling when sniffing aromatic and ofcourse very well presented food) which are important for effective digestion of food which eventually results in making nutrition available for absorption. This chapatti was extremely delicious and I really wish I had unlimited access to these leaves so I could make this chapatti more often. You do not need a side dish for this as it has a good load of flavours so would be ideal if you are running out of time or energy.

1 ½ cups whole wheat flour (atta)
½ bunch methi leaves (about couple of handful)
Salt to taste
2 green chillies, finely chopped
1 teaspoon cumin seeds, toasted
Cooking oil
Ghee

Mix all ingredients except oil and ghee. Add enough water (about 1 cup of hot water should be enough) to make a soft chapatti dough. Rest the dough for atleast 10 minutes

Divide into equal portions and make balls

Using some flour to dust roll the balls into chapattis

Cook on a hot tava (once bubbles appear on bottom side, flip, then press, once it bubbles again flip and press) and dab some ghee on both sides

Serve with yogurt and or pickle!

Saturday 18 February 2012

Eggless Curd Chocolate Cake


Eggless Curd Chocolate Cake


Chocolate cake is probably most people’s favourite. Most cakes bought from the shop would contain eggs and a huge number of additives. For those who do not eat eggs, the search for the perfect eggless cake could be a long one. Well, to me, this is the best recipe but try for yourself and let me know. I do not like anything too sweet so the sugar in this recipe would be just enough but if you have a sweet tooth, increase the quantity of sugar. In a bid to keep refined products minimum, I used brown sugar. I have used hung curd in this recipe and it need not take long to prepare hung curd. All you need to do is put the curd in muslin cloth or kitchen towel, place it on a colander and put this on top of a bowl so the whey water gets collected. Make sure there is enough gap between the bottom of the bowl and colander else the curd will continue to soak in the whey water. You could speed it up by squeezing every now and then but it should be ready in about an hour. If you have more time on hand and do not want it to go sour, put the whole stuff in the fridge. I have been working quite meticulously to improve my baking skills and I am pleased to say that the learning curve has been so enjoyable and I enjoyed the results in the form of this yummy cake. Another post on mango cake will explain in further detail why few steps are done the way they need to be done. It does not take long to make a cake and need not be a big challenge. Keep it simple. One has to take care when checking if the cake is done because oven vary considerably. I noticed that my oven may have uneven heat distribution but it is not too much of a problem. Try to keep the cake in the oven or pull the rack slightly forward to insert a skewer in the centre of the cake to see if it comes out clean to check if it is done. Remember that even after turning off the oven, it will be considerably hot so you may want to take a call whether you want the cake to sit for just a few minutes in the oven when turned off or on. This is where your judgement will be needed. I used spatula to make the yogurt oil mixture but a wooden spoon may be more convenient. You could use all purpose flour alone or mix with whole wheat as suggested. I do not like using rapeseed oil (vegetable oil) for baking as I do not like its smell when heated. I stick to sunflower oil for baking. The quantity of milk may seem strange as it is plenty of tablespoons but that is what my mix needed. You may need little more or less depending on the flour quality. Frosting is optional and I chose to keep it simple. I had another piece of cake just now and think it was well worth the effort to frost.

1 ½ cups yogurt (I used low fat), hung so whey is drained (will yield roughly 3/4 cup hung curd)
1 cup all purpose flour
½ cup whole wheat flour
½ teaspoon baking soda
1 ½ teaspoon baking powder
4 tablespoon coco powder
¾ cup sugar (I used light brown)
½ cup sunflower oil
15 tablespoon milk (about 225ml)

For frosting
1 pack of chocolate broken to pieces
1 teaspoon butter

Preheat oven to 180degC

Prepare the cake tin by placing a greaseproof baking paper on the bottom and applying butter or oil to the sides

Sift the flours and coco powder together. Sifting helps aerate the cake, a step needed to make soft cake

In a mixing bowl, mix together the hung curd, oil and sugar until it is creamy and all sugar has dissolved. Use a wooden spoon or electric mixer for best results


Add the baking soda and baking powder to this mixture and mix well and rest for five minutes. It will start giving out small bubbles in about 5 minutes.

Add the sifted flour coco mixture little by little and combine

Add about 10 tablespoon of milk and from there on add one tablespoon after another so you can judge when to stop. You need to make a batter to dropping consistency and not runny.

Pour the batter into the prepared tin, level it. Then drop the tin from a height of about 4 inches about 10 times. This helps release any excess air to escape. Remember never to leave the batter to sit at it will allow gluten to form and the cake will be hard. Stick it straight in the oven.

Bake for 30 minutes, until a skewer inserted in the centre comes out clean. Mine was almost done at 30 minutes but I thought it could stay a bit longer so I turned the oven off and kept the cake in the oven for five more minutes. This way the cake cooked very well without burning the top

Allow the cake to cool in the tin outside the oven for 5 minutes and then open the tin to put the cake on the cooling rack. Cool completely
I cut the crust and sides off as I do not like them crisp and also wanted to give the cake a nice shape (trust me I tried to)

For the frosting melt broken pieces of chocolate with butter in a microwave or in double boiler until it is shiny (I used microwave for this alone)

Smear this on top and the sides and let it sit to set.

Make slices and indulge!

Friday 17 February 2012

Iru Puli Kuzhambu


Iru Puli Kuzhambu


Lately, I have been trying to make things other than usual sambar to mix with rice. One such recipe I came across was this iru puli kuzhambu (which is basically a sauce with two sources of sourness in it). I saw this recipe on a television program where they show traditional recipes so they are preserved and do not get lost after a certain generation. It was one of those recipes that made me want to do at the next immediate chance. It was a lazy Saturday morning and I did not want to think much about the menu and got on with it. On the show she used drumstick, pumpkin and ashgourd. I had pumpkin and dudhi readily accessible and waiting to be used from my freezer so just used them. I am guessing that even eggplants would be a good addition to this. This recipe uses tamarind as well as yogurt to impart sour flavour and despite that it is not too sour but very well balanced. The flavours are so subtle and yum! Here is the recipe…

1 teaspoon tamarind extract
1 cup pumpkin
1 cup dudhi
1 cup yogurt
1 heaped teaspoon fenugreek seeds
4 dry red chillies
5 teaspoon dessicated coconut/fresh coconut
Turmeric powder
Asafoetida
Salt to taste
Curry leaves
1 teaspoon mustard seeds
Cooking oil

Boil the vegetables, pumpkin and dudhi in water and when half cooked, add the tamarind extract, turmeric and asafoetida

Roast the fenugreek seeds until its colour changes, roast dry red chillies until crisp, keep aside to cool and grind to paste along with the coconut

Mix this paste with the yogurt well


Add this yogurt mixture to the boiling vegetables (once they are done) and keep on low flame. Cook just until it begins to boil gently

Heat little oil in a small pan and add mustard seeds, once it splutters add curry leaves and drop this into the boiled mixture. Add required salt and mix and it is ready to serve!


Tuesday 14 February 2012

Peach Custard


Peach Custard


I am not a big fan of peach and neither are others in my family. Despite that I had bought a can of peach and have no idea what I was thinking. Well, I must have thought I will figure out a use for it later. Now that I am determined to use up the stuff in my pantry, I am lining up recipes for many of them. So out came the can of peach. I had bookmarked a rather simple dessert from Tarla Dalal’s website and found a good opportunity to try it. A tamil couple were visiting us and I knew they are not very fond of very sweet dishes. This dessert did not sound like a very sweet one as it seemed to rely on sweetness from peach (my kinda dish) so I thought I will have them taste test it. Their feedback was positive so that is why it is getting logged in the blog. A simple warm dessert that is easy to make…

1 can of peach
3 tablespoons custard powder
2 cups milk
2 tablespoon sugar
2 teaspoons brown sugar

Mix the custard powder and sugar with some milk to make a cream and heat the rest of the milk

Pour the mixed cream into the hot milk and bring to boil while stirring continuously. Boil it for atleast couple of minutes. The custard should be slightly thicker than buttermilk

Arrange the peaches in an oven proof dish

Pour the hot custard over the peaches and sprinkle some brown sugar on top

Bake in a preheated oven at 200degC for 15 minutes

Serve warm

Sunday 12 February 2012

Peanut and Chocolate Chip Biscuits


Peanut and Chocolate Chip Biscuits


Peanut is one of my favourite nuts. I have a rather peculiar taste to peanuts because unlike cashews they do not seem very inviting however, once I have a few of them, I could do with more and more. I was watching a cookery program on the tele and it was about making some dishes for the lunch box. The lady cooking mentioned that peanuts are so not desired by children and I was quite surprised by that. When I was a child I used to wait for the roasted peanut vendor who would have a sand bath in which he would roast the peanuts and make a ringing noise using his ladle to alert us of his arrival. I would scramble for change and buy some and sit in the balcony or near the gate and munch. Now though it is usually me that has to roast the peanuts. I do not stock roasted peanuts because that way I can decide I want to have it roasted or boiled. I realised I like peanuts in biscuits and wanted to make it attractive to my wee one as well so combined chocolate chips. Wee ones cannot whole nuts so when given in powder form it is safe and also ensures these healthy bits go in. My wee one was responsible for putting the choco chips on and I insisted that he does not press it hard into the biscuit but later realised that way the biscuits actually looked even better. One of the learning for me in this baking episode was that in general we look for browned edges for biscuits and that is when you know they are done. For this biscuit, browned edges are not enough, the whole biscuit should brown so it is crispy else it will be more like a cookie with edges alone brown. Here is the recipe...

½ cup roasted peanuts, powdered
1 ½ cups self raising whole meal flour
100g butter
½ cup light brown sugar
½ cup chocolate chips (more or less as you prefer)
¼ cup milk

Bring together powdered peanuts, flour and sugar. Add the butter, mix and add milk as required to make a dough that will hold together while held in fist but not soft like chapatti dough. Refrigerate this dough for atleast 30 minutes else it could be sticky

Pinch small balls of the dough, make balls and press between your palm to make the cookies. Put some chocolate chips on them and gently press them down

Bake in preheated oven at 180degC for 8-10 minutes, until brown.

Cool completely and serve